> For the complete documentation index, see [llms.txt](https://hinkal-team.gitbook.io/hinkal/llms.txt). Markdown versions of documentation pages are available by appending `.md` to page URLs; this page is available as [Markdown](https://hinkal-team.gitbook.io/hinkal/hinkal-wallet/getting-started/onboarding.md).
# Onboarding
Create your first wallet, import with your existing seed phrase, or proceed with legacy version if you had hinkal wallet before the update.
**Hinkal Wallet onboarding is designed to be simple, secure, and fully self-custodial.**
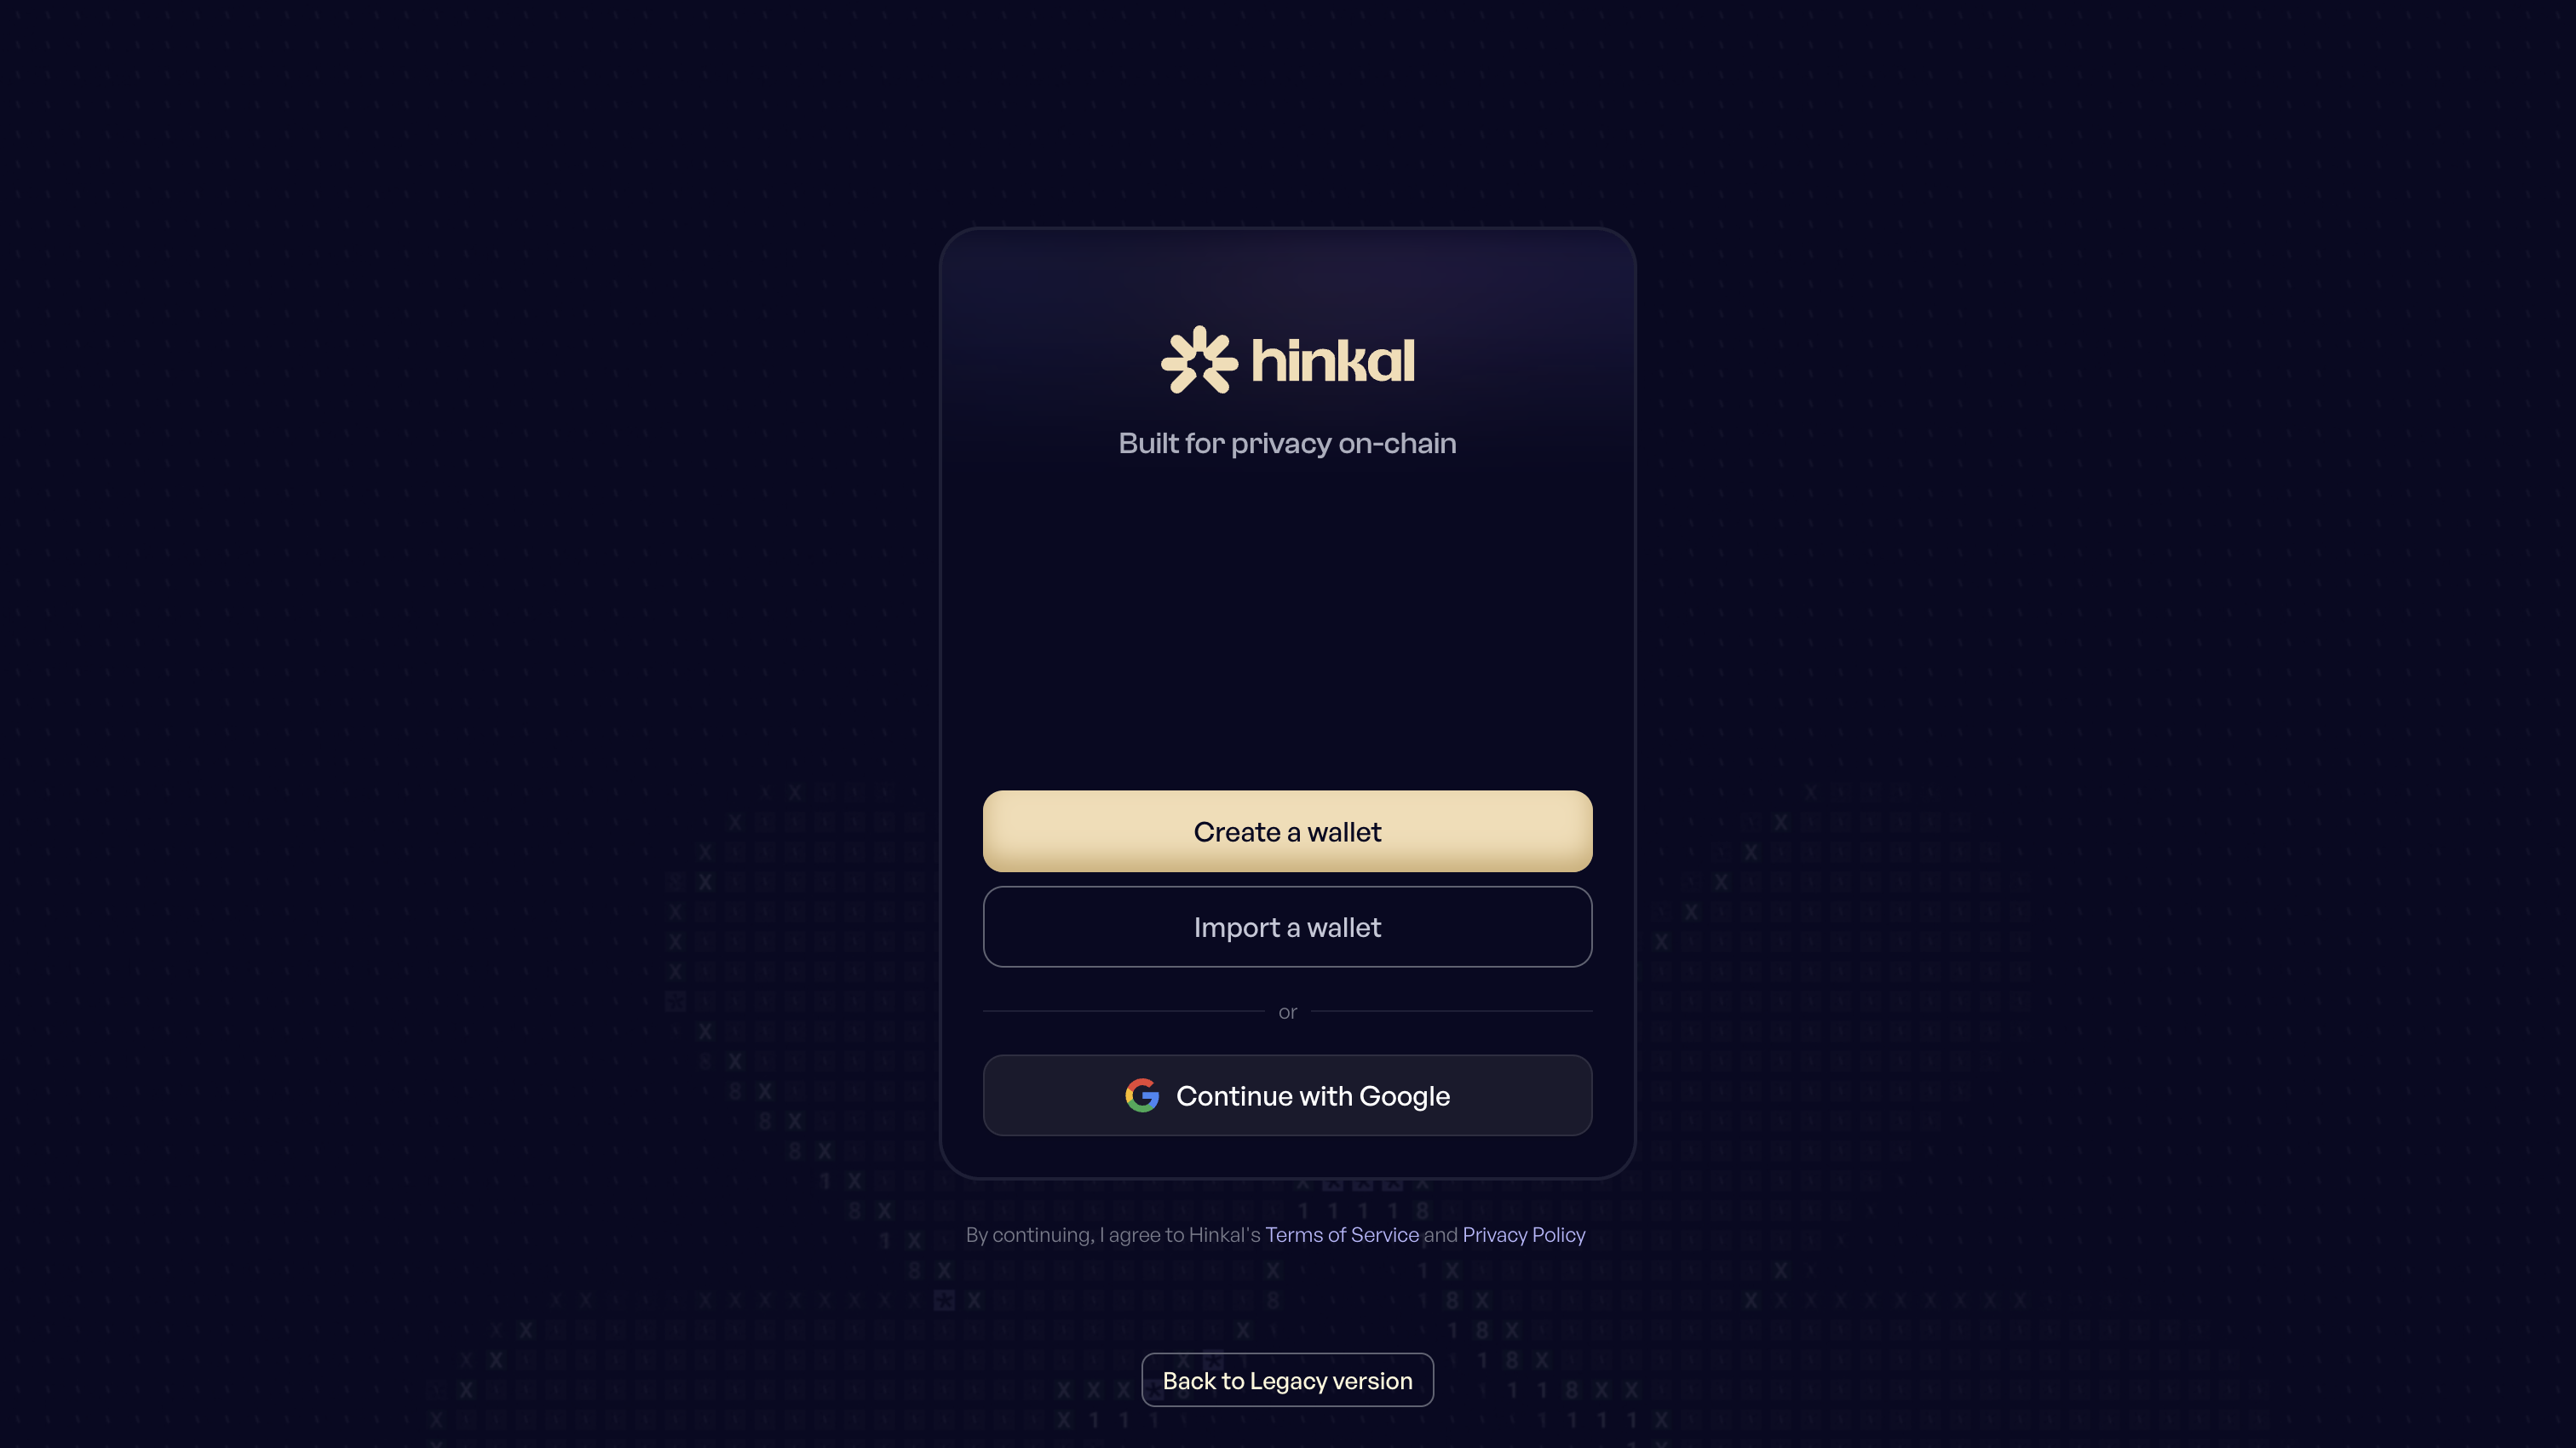
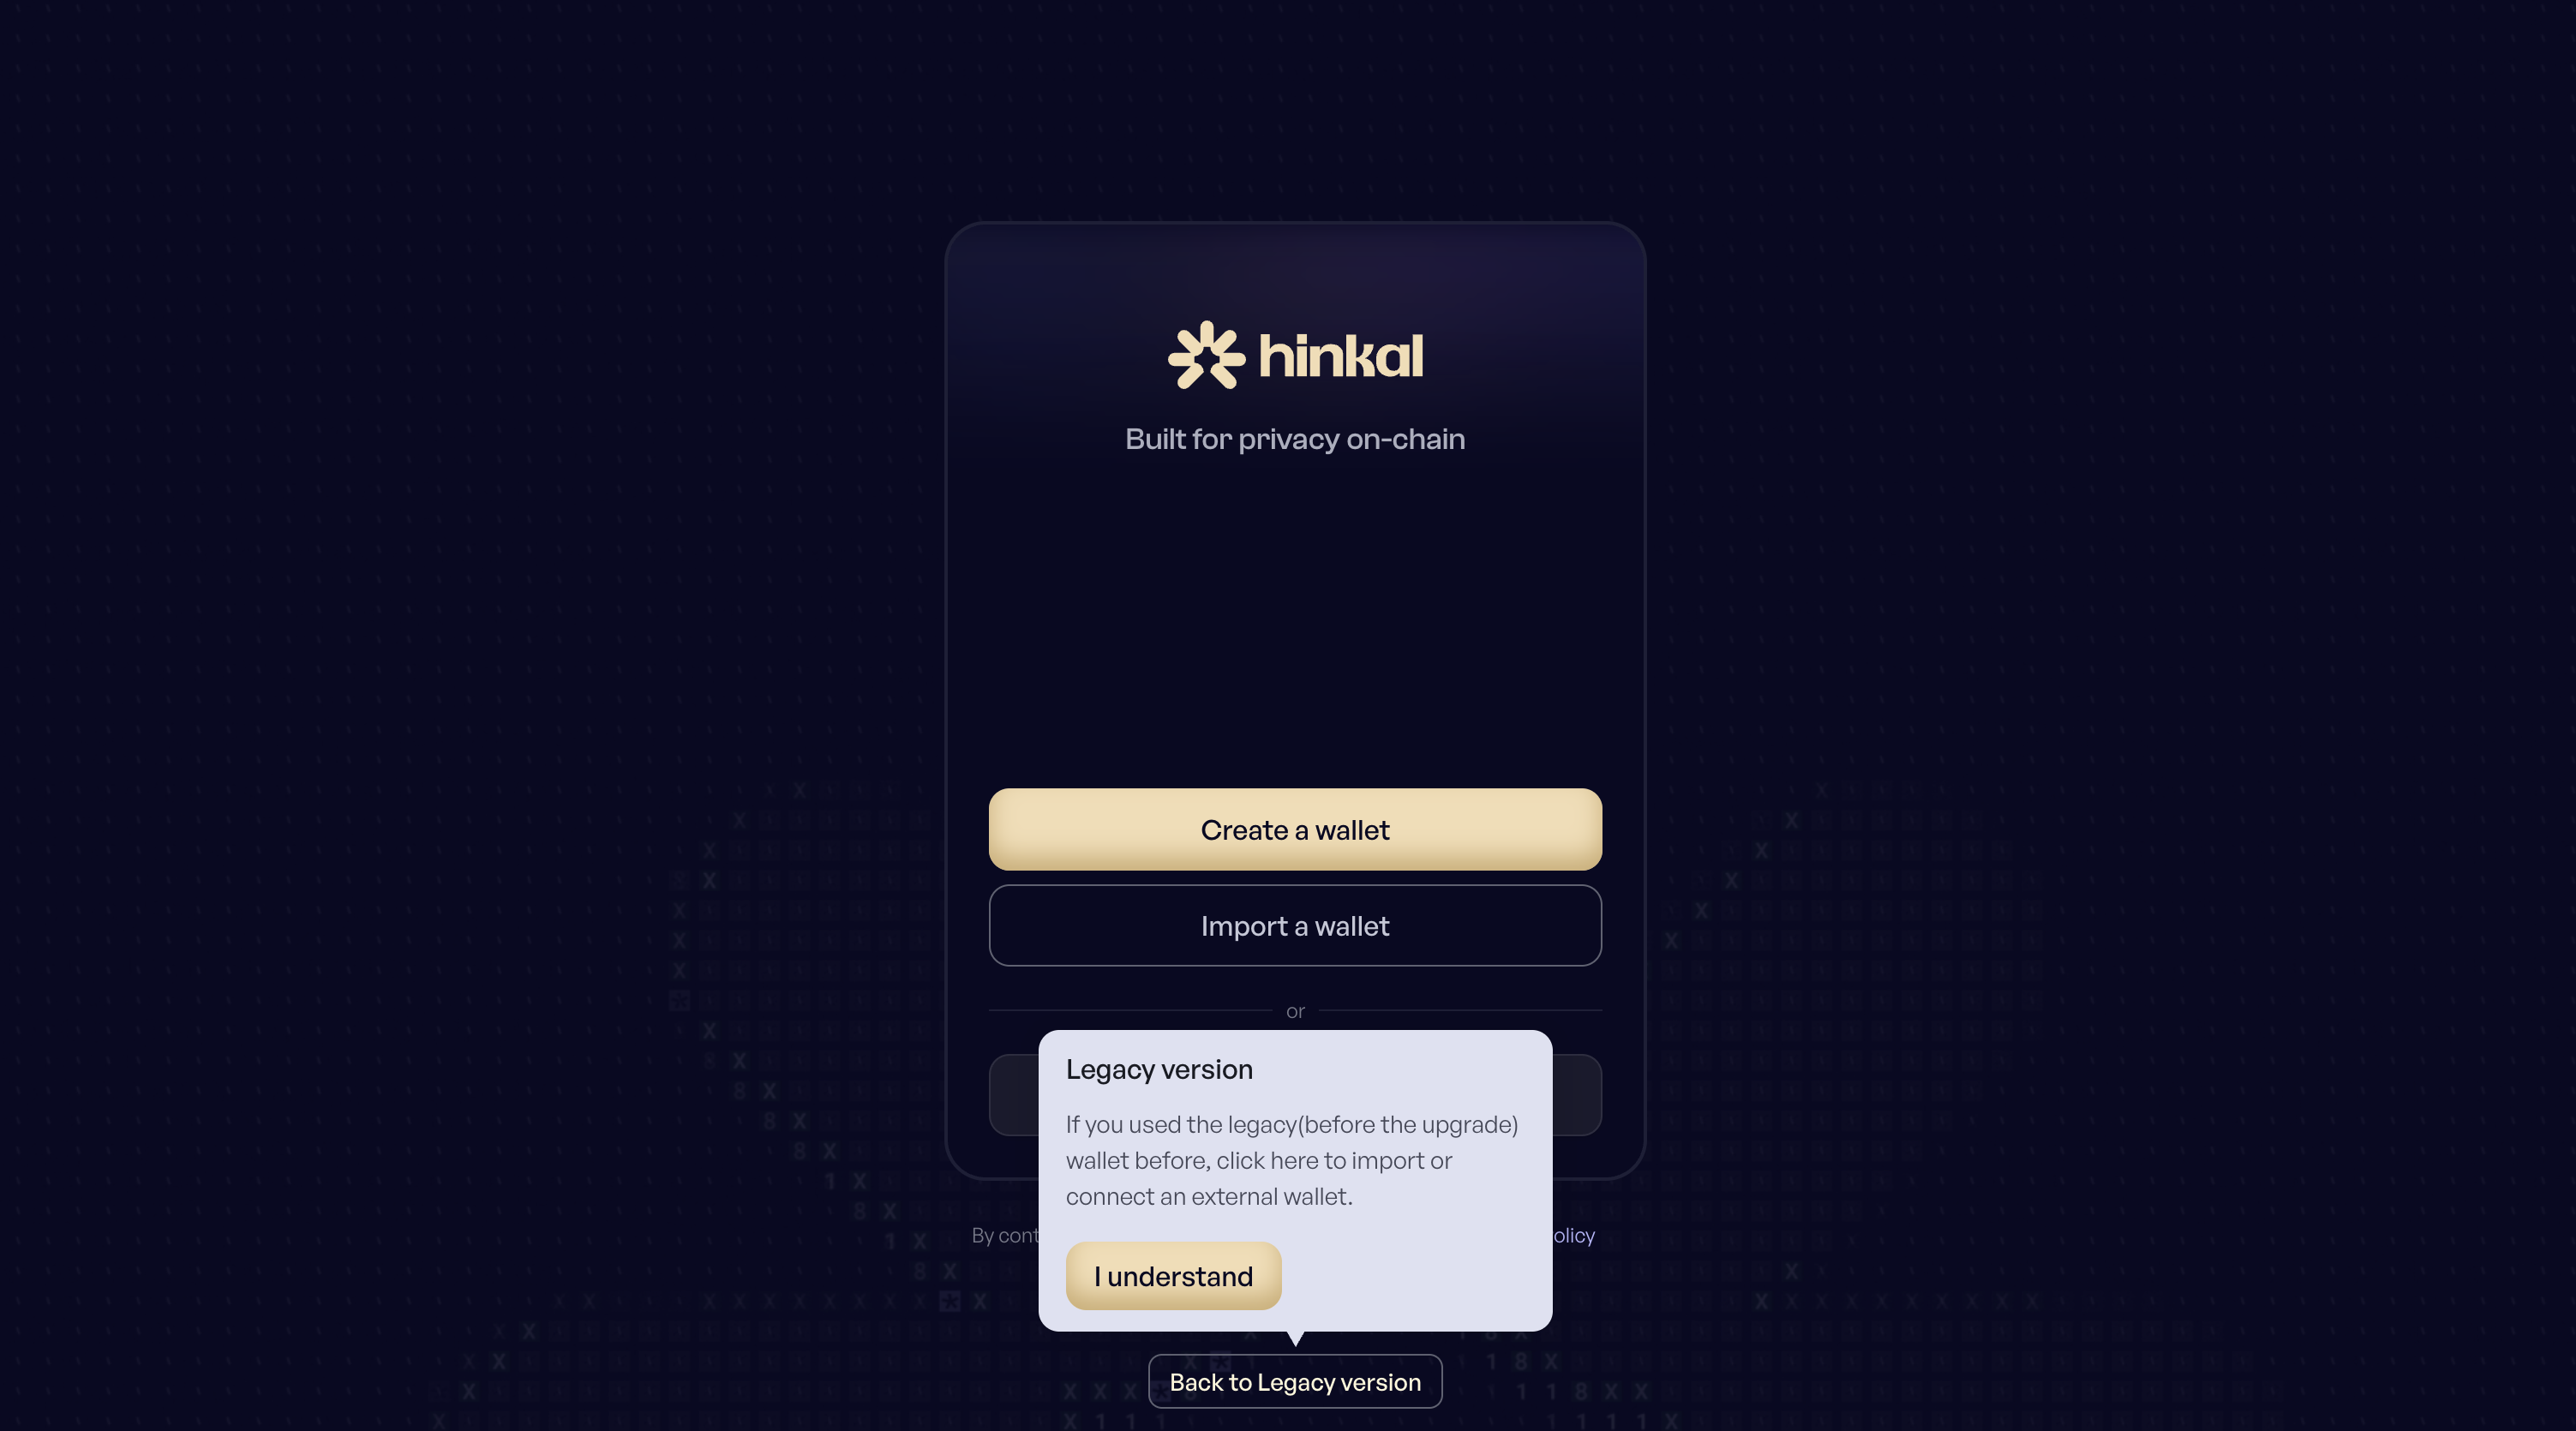
From the welcome screen you can:
* Create a new wallet
* Import an existing wallet
* Continue with Google
If you used Hinkal Wallet before the update, see [**Migrating from the legacy version**](#migrating-from-the-legacy-version) below - legacy accounts need a one-time recovery before you can continue.
***
#### Create a New Wallet
(Welcome screen → Create a wallet)
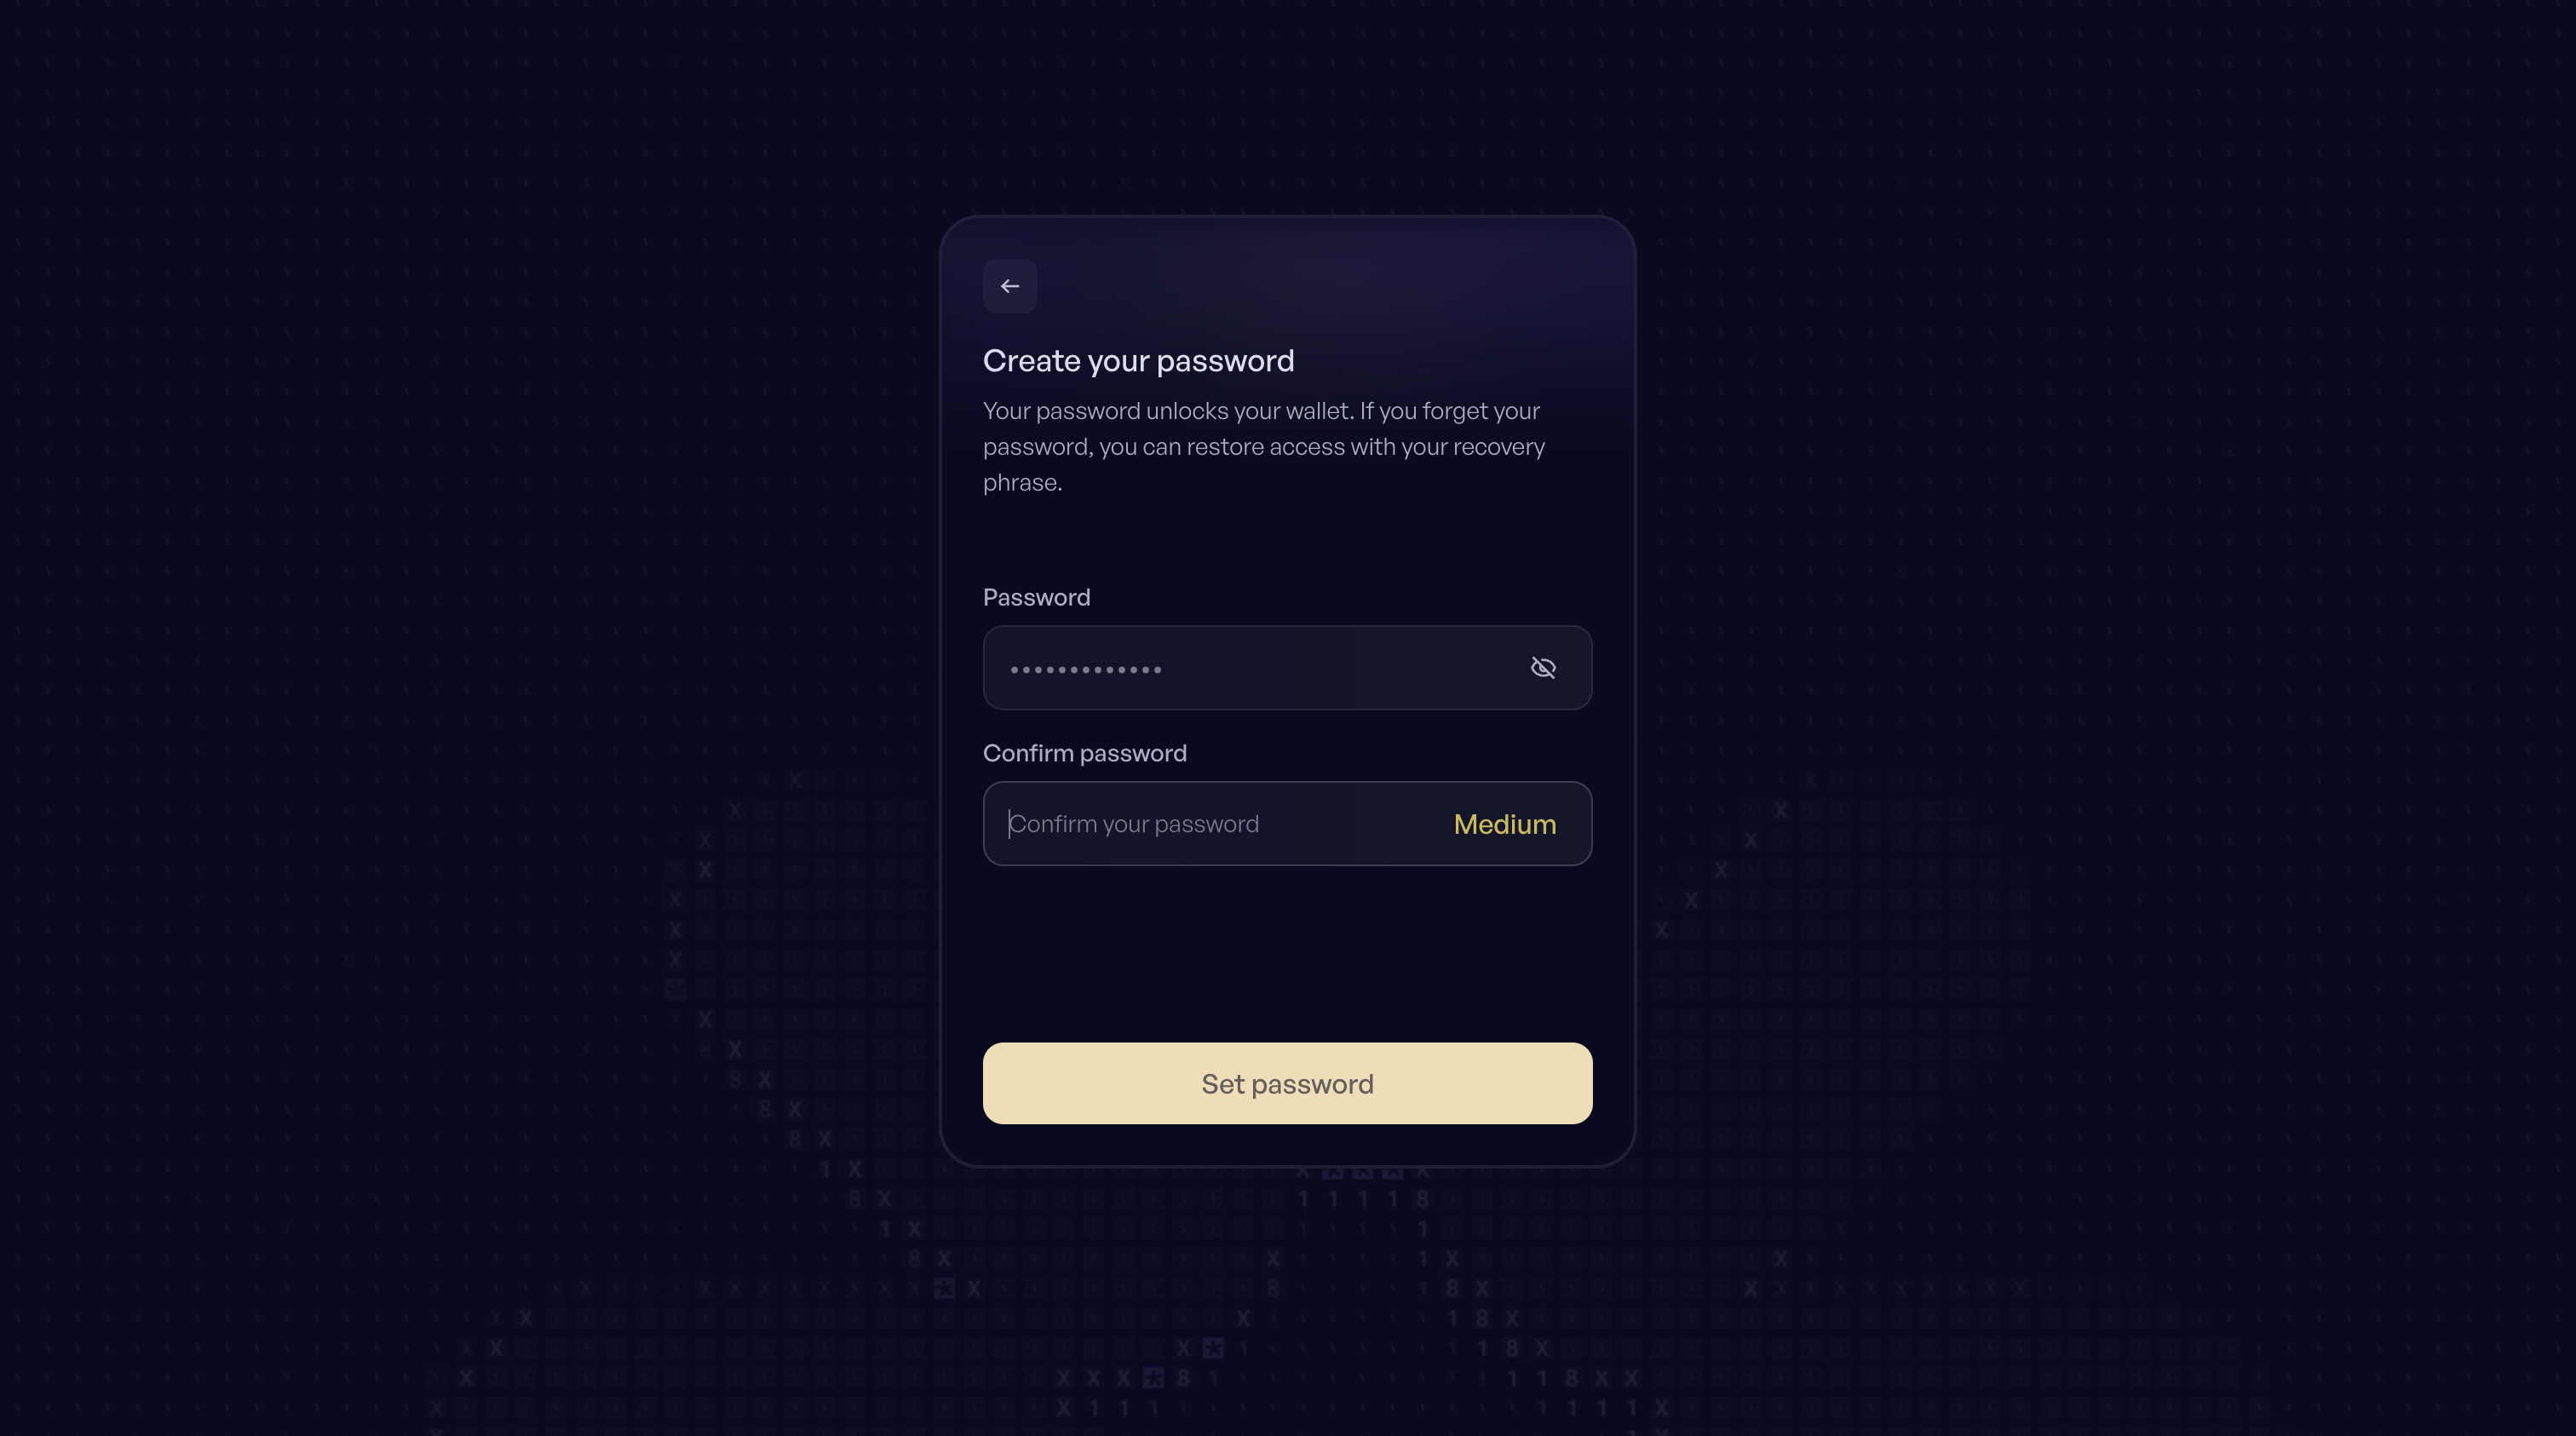
1. **Set your password**
Create a password for your wallet. This password unlocks your wallet on this device only. If you forget it, you can recover access using your recovery phrase.
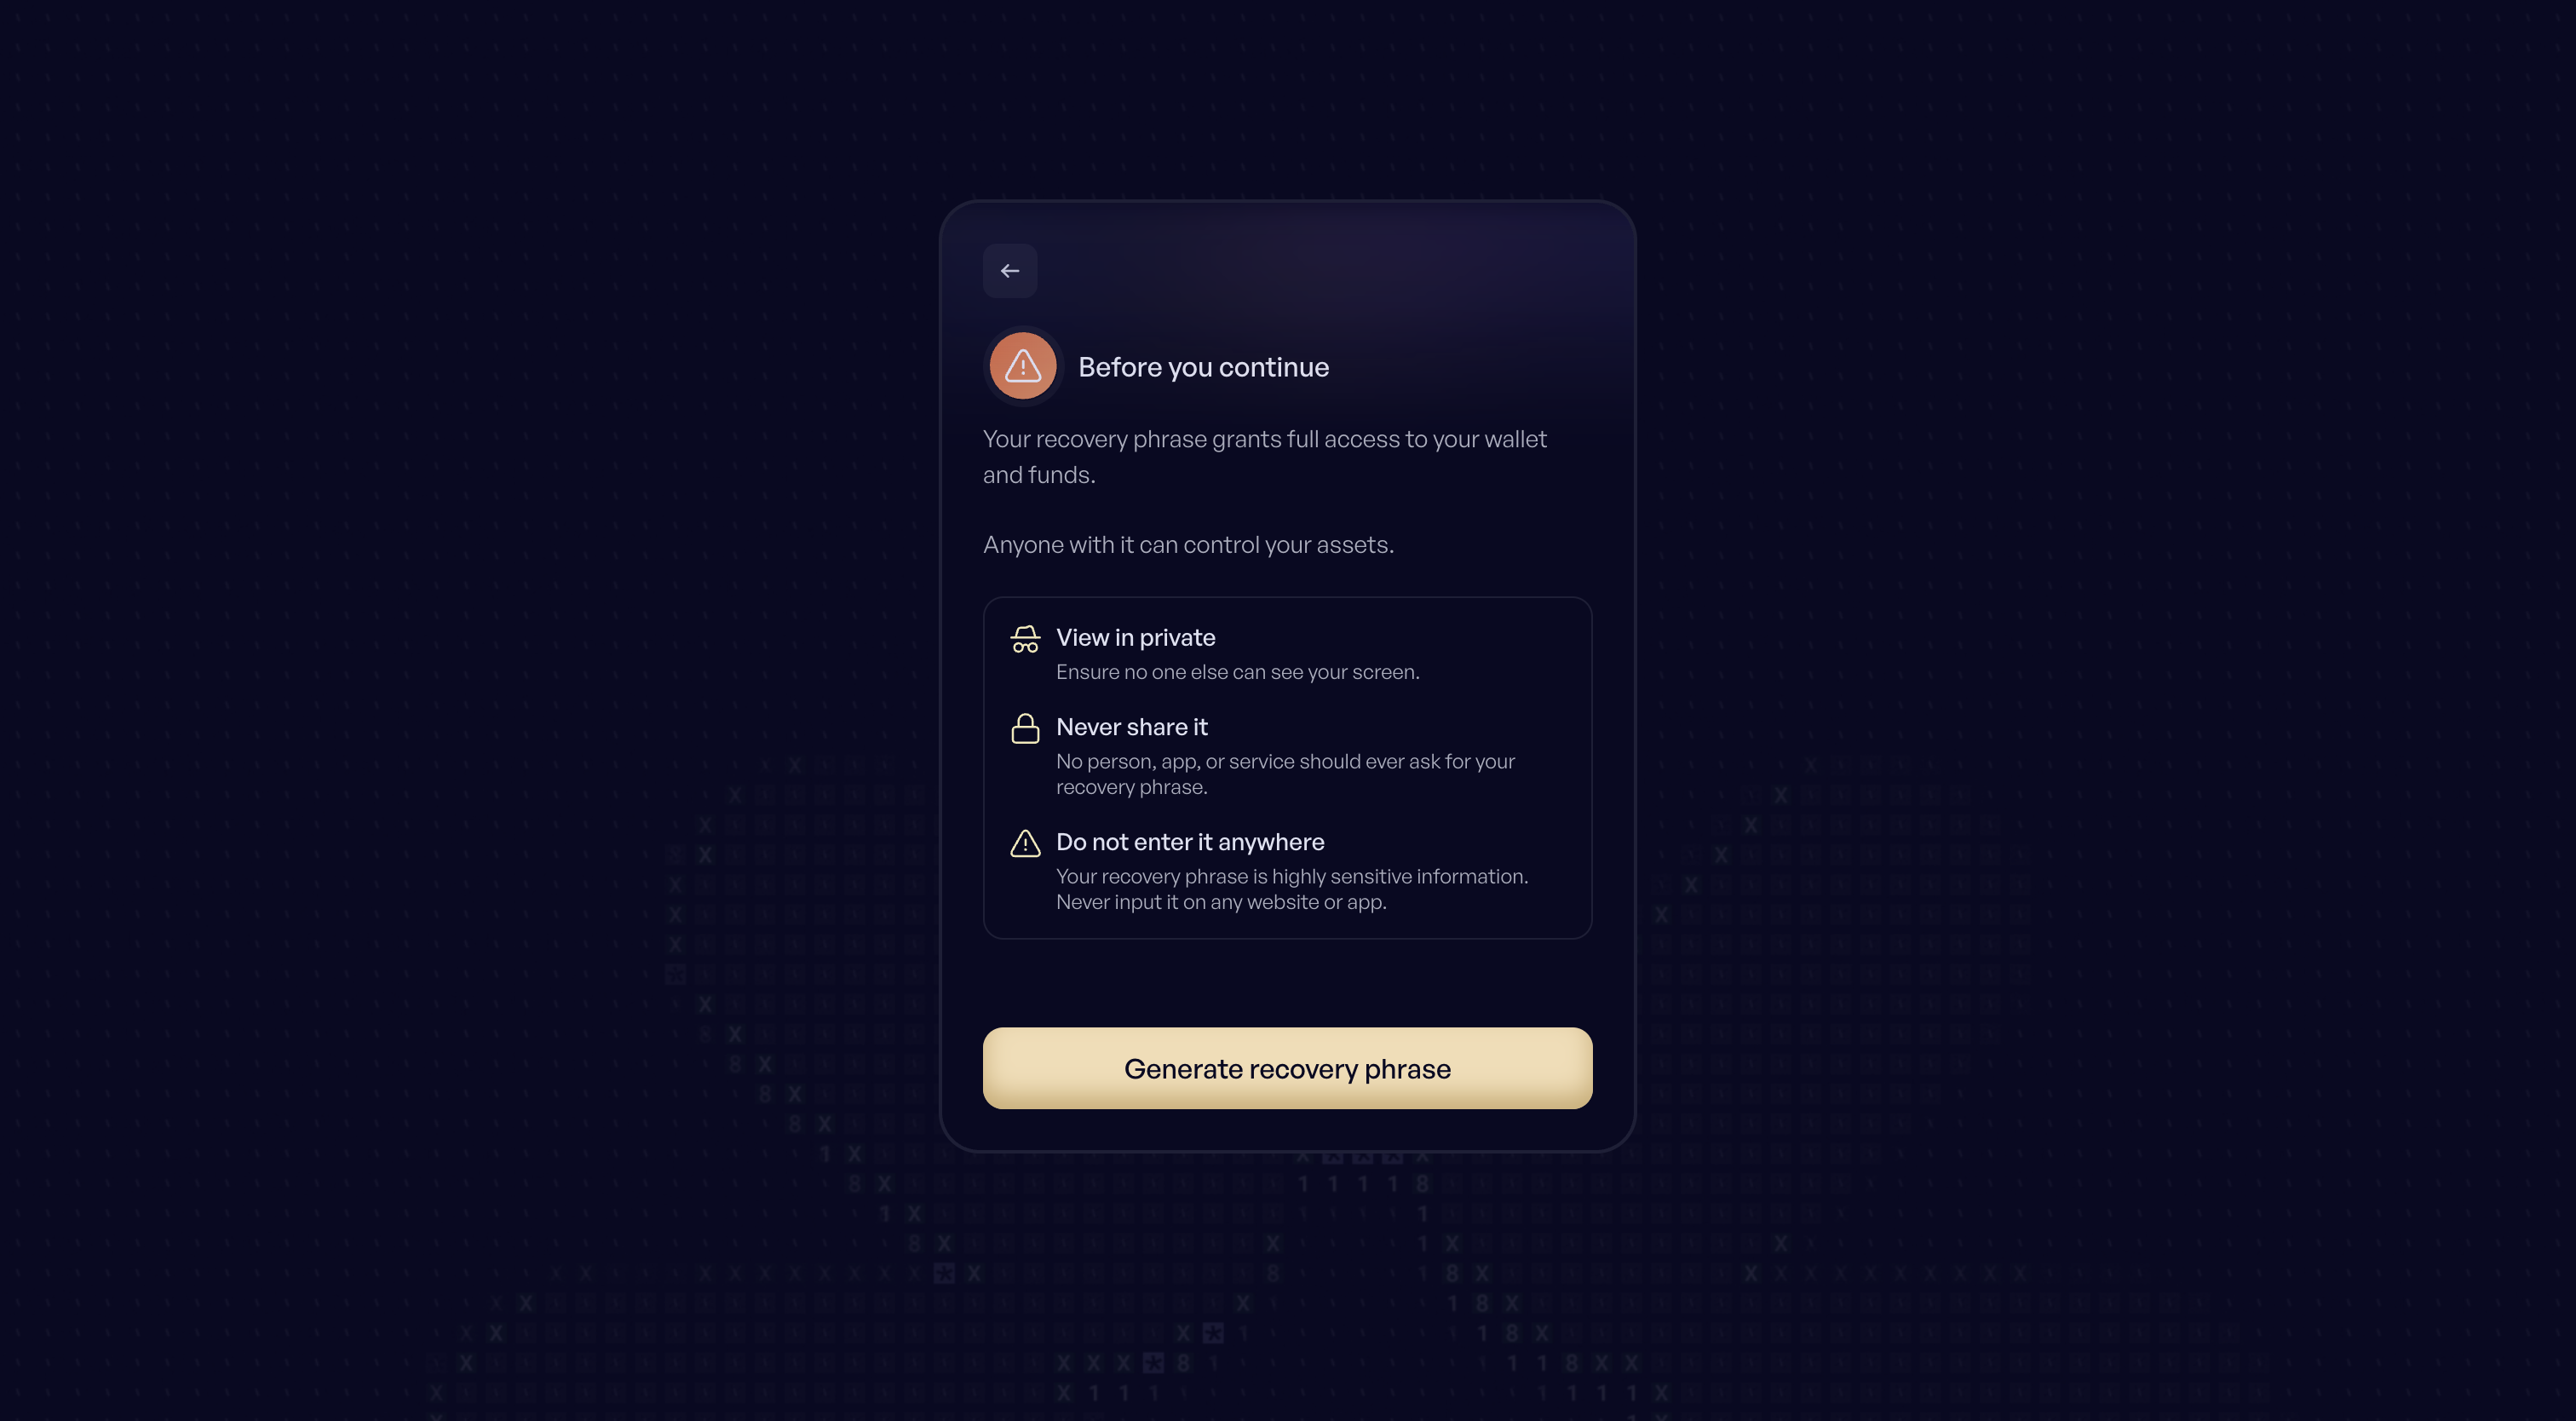
2. **Review the security notice**
Before proceeding, you'll see an important reminder: your recovery phrase gives full access to your wallet, and anyone with it can control your funds. Make sure you are in a **private** environment before continuing.
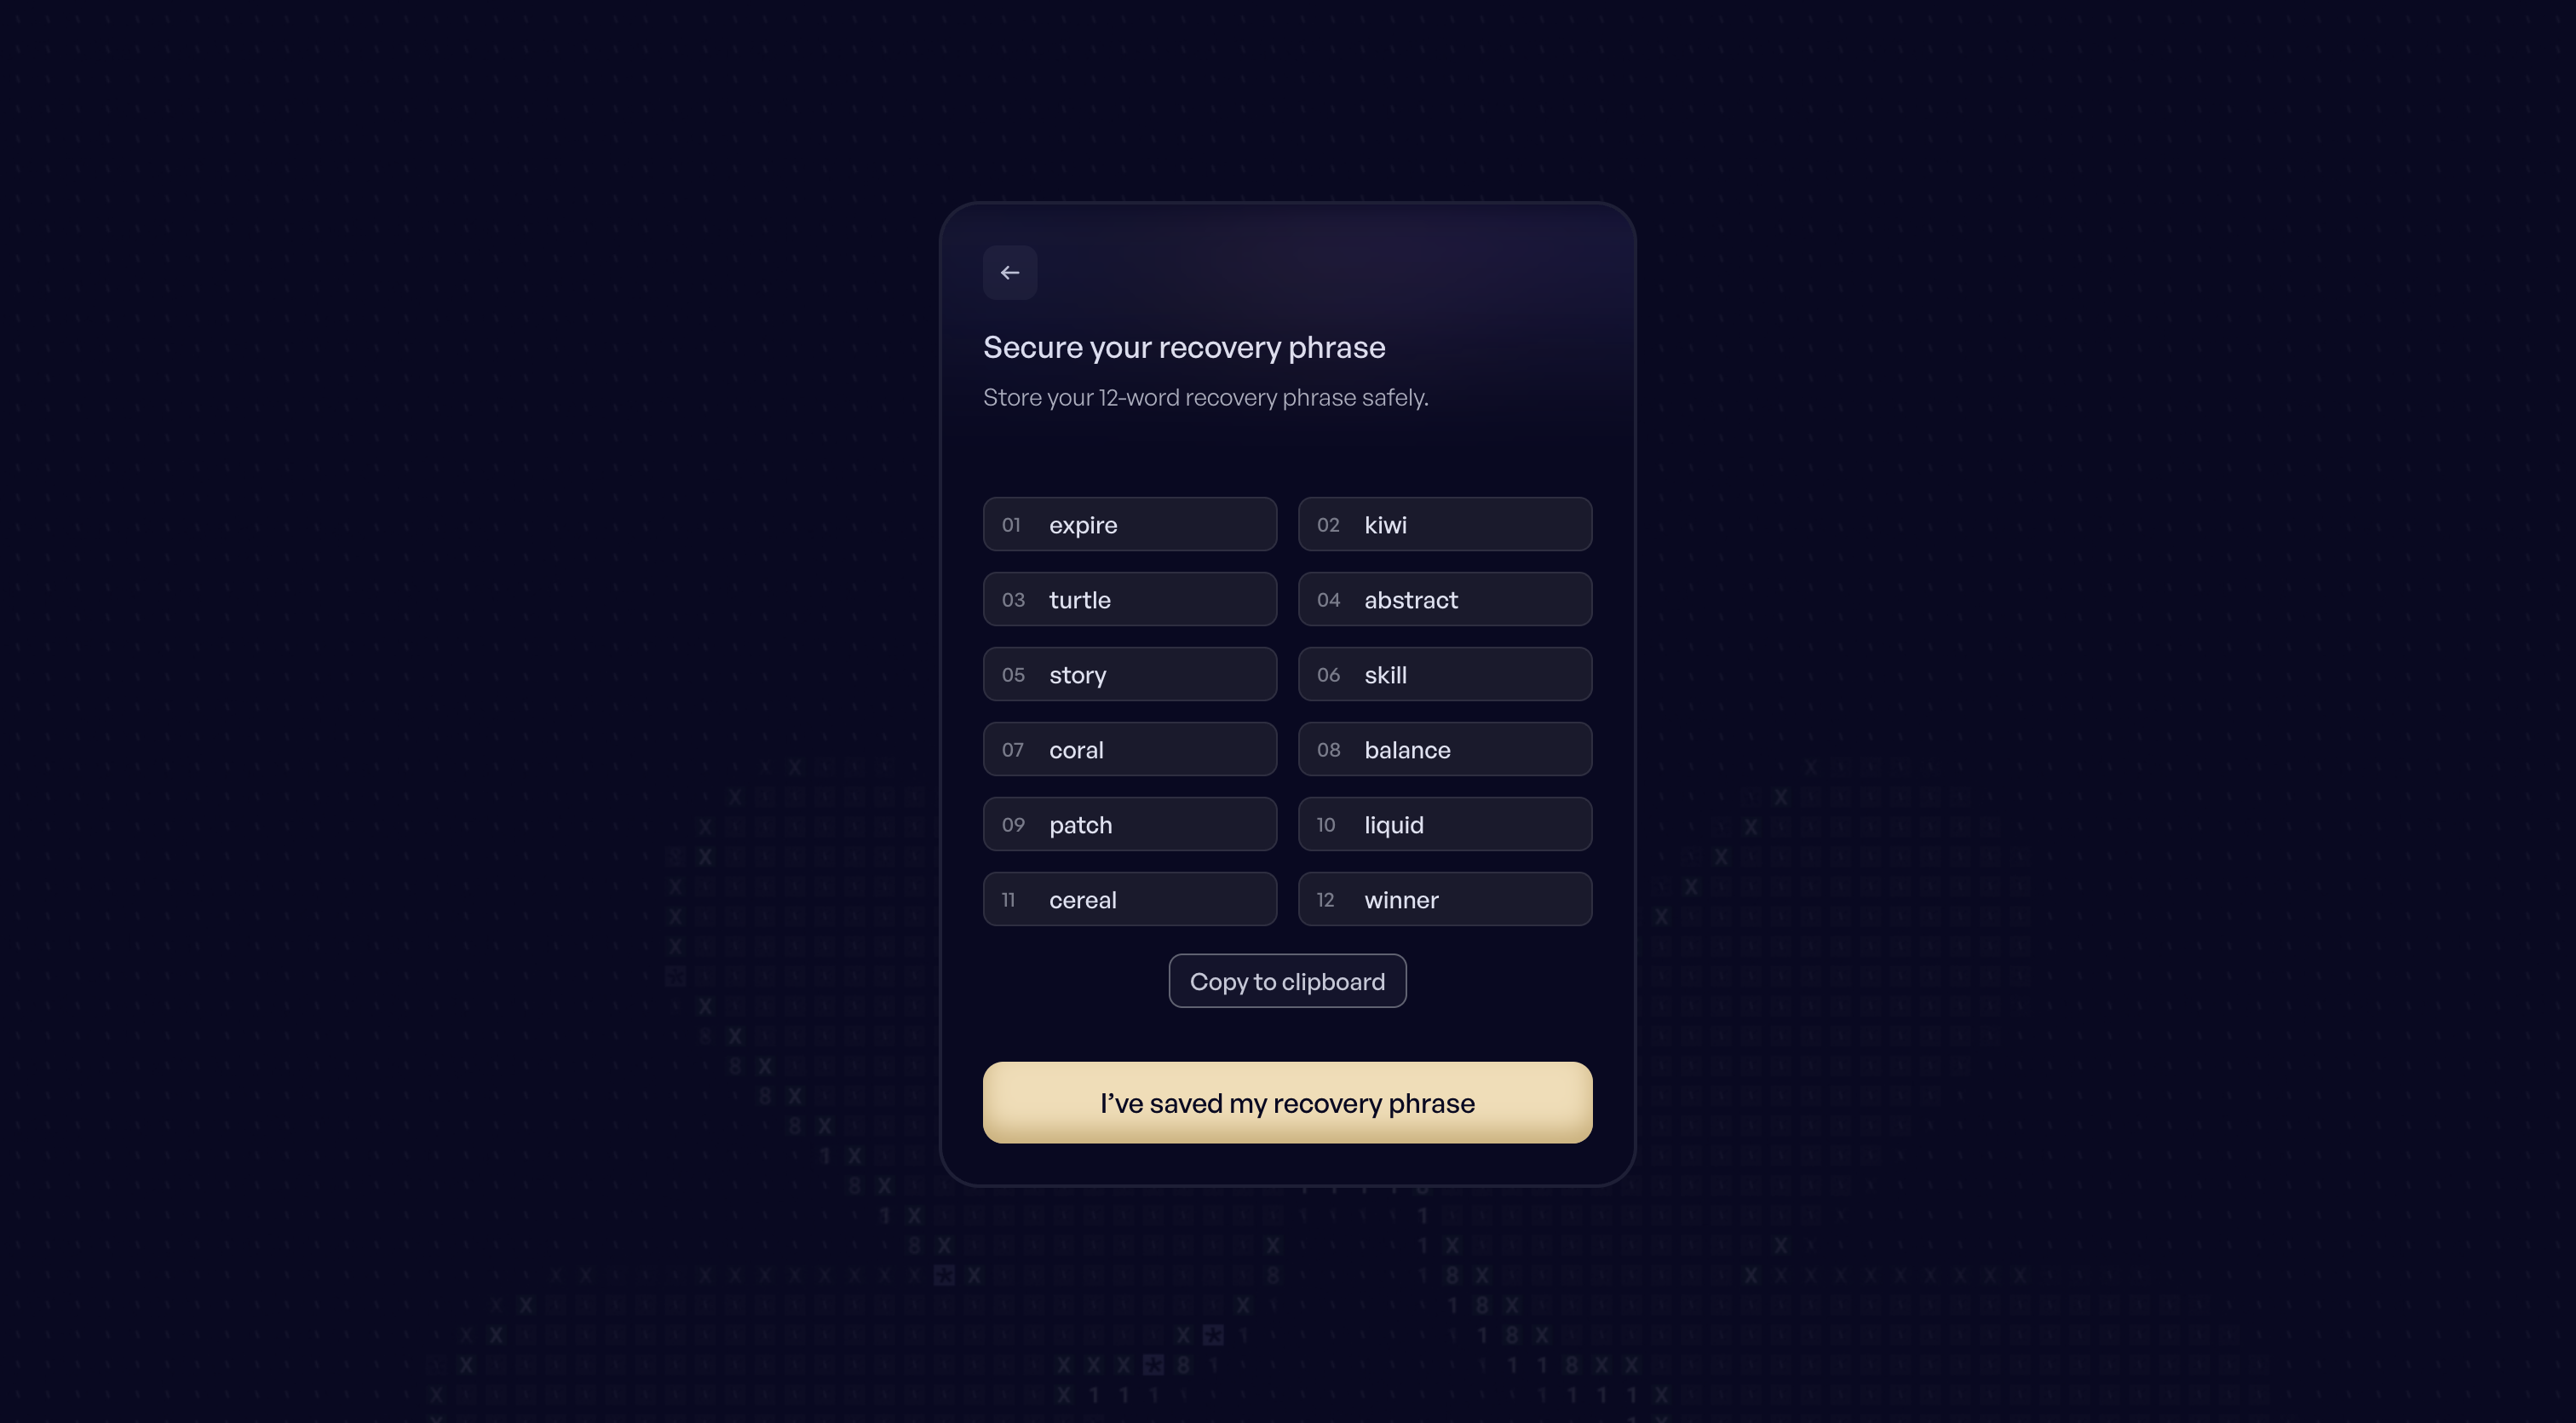
3. **Generate your recovery phrase**
Hinkal generates a unique 12-word recovery phrase. This is the only way to restore your wallet. **Store it securely, never share it, and never enter it anywhere except inside your wallet.**
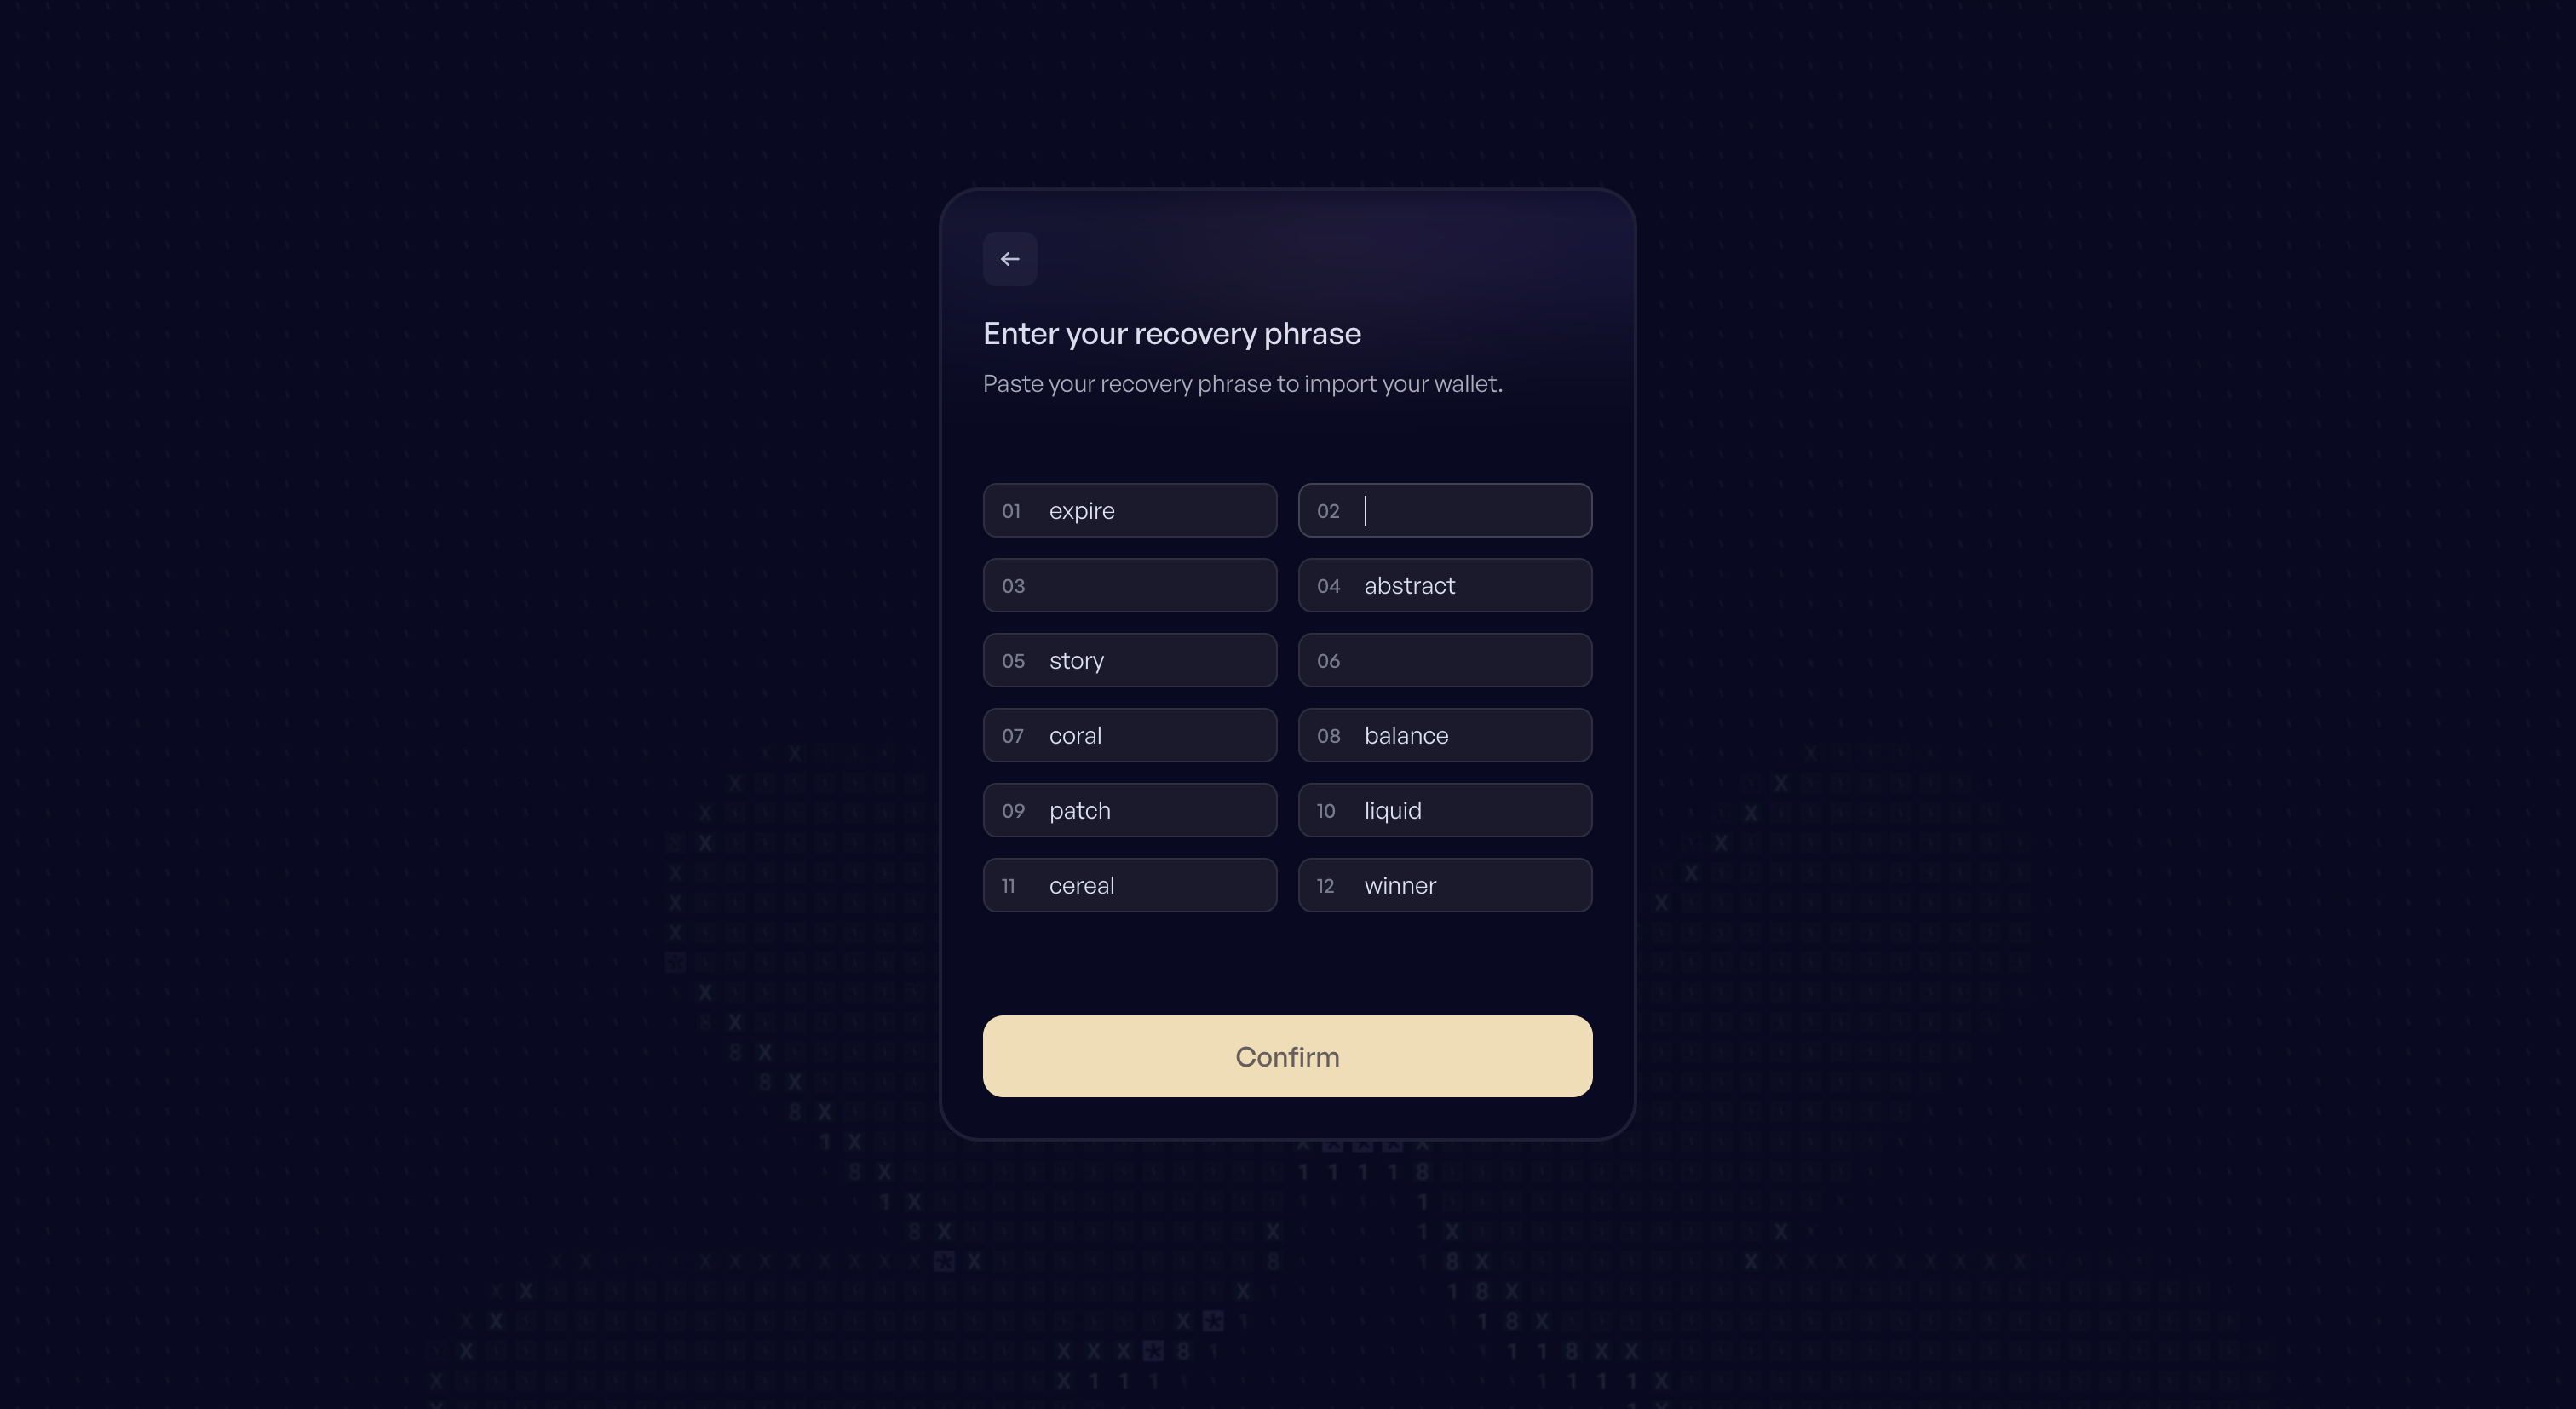
4. **Save and confirm your recovery phrase**
After saving it, you'll re-enter the phrase to confirm you've stored it correctly.
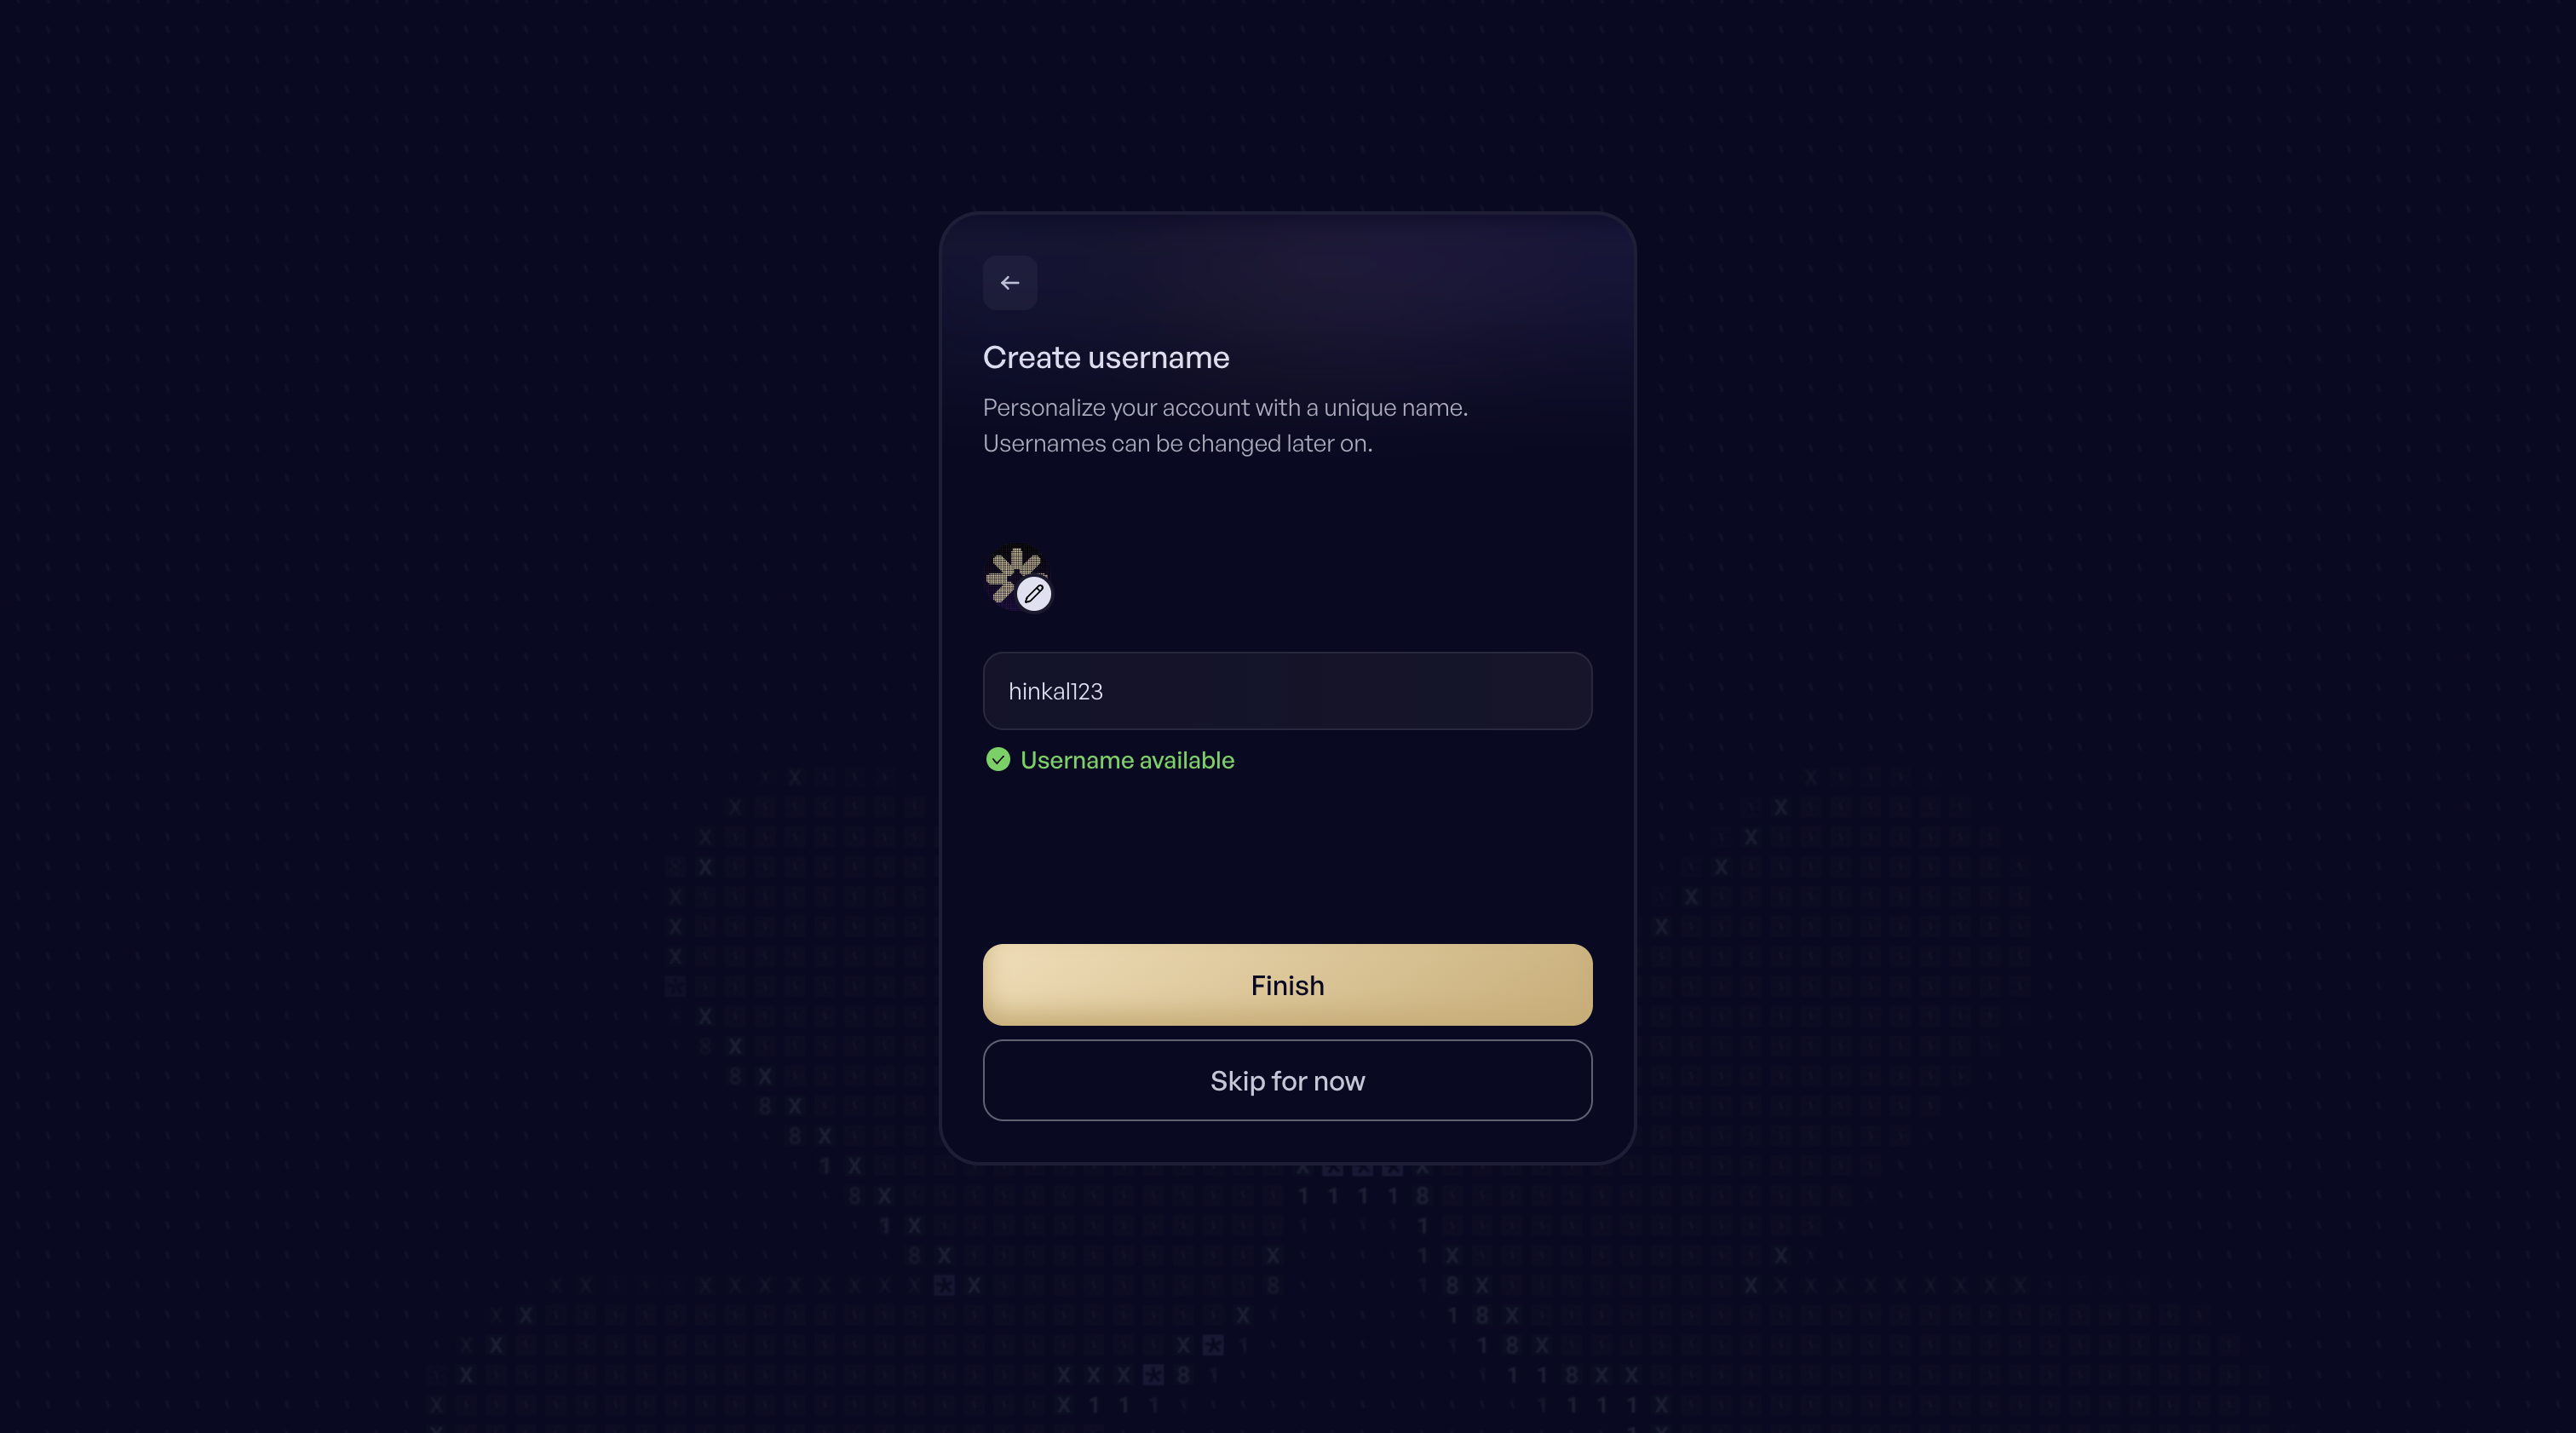
5. **Create a username (optional)**
Used for personalization; can be changed later.
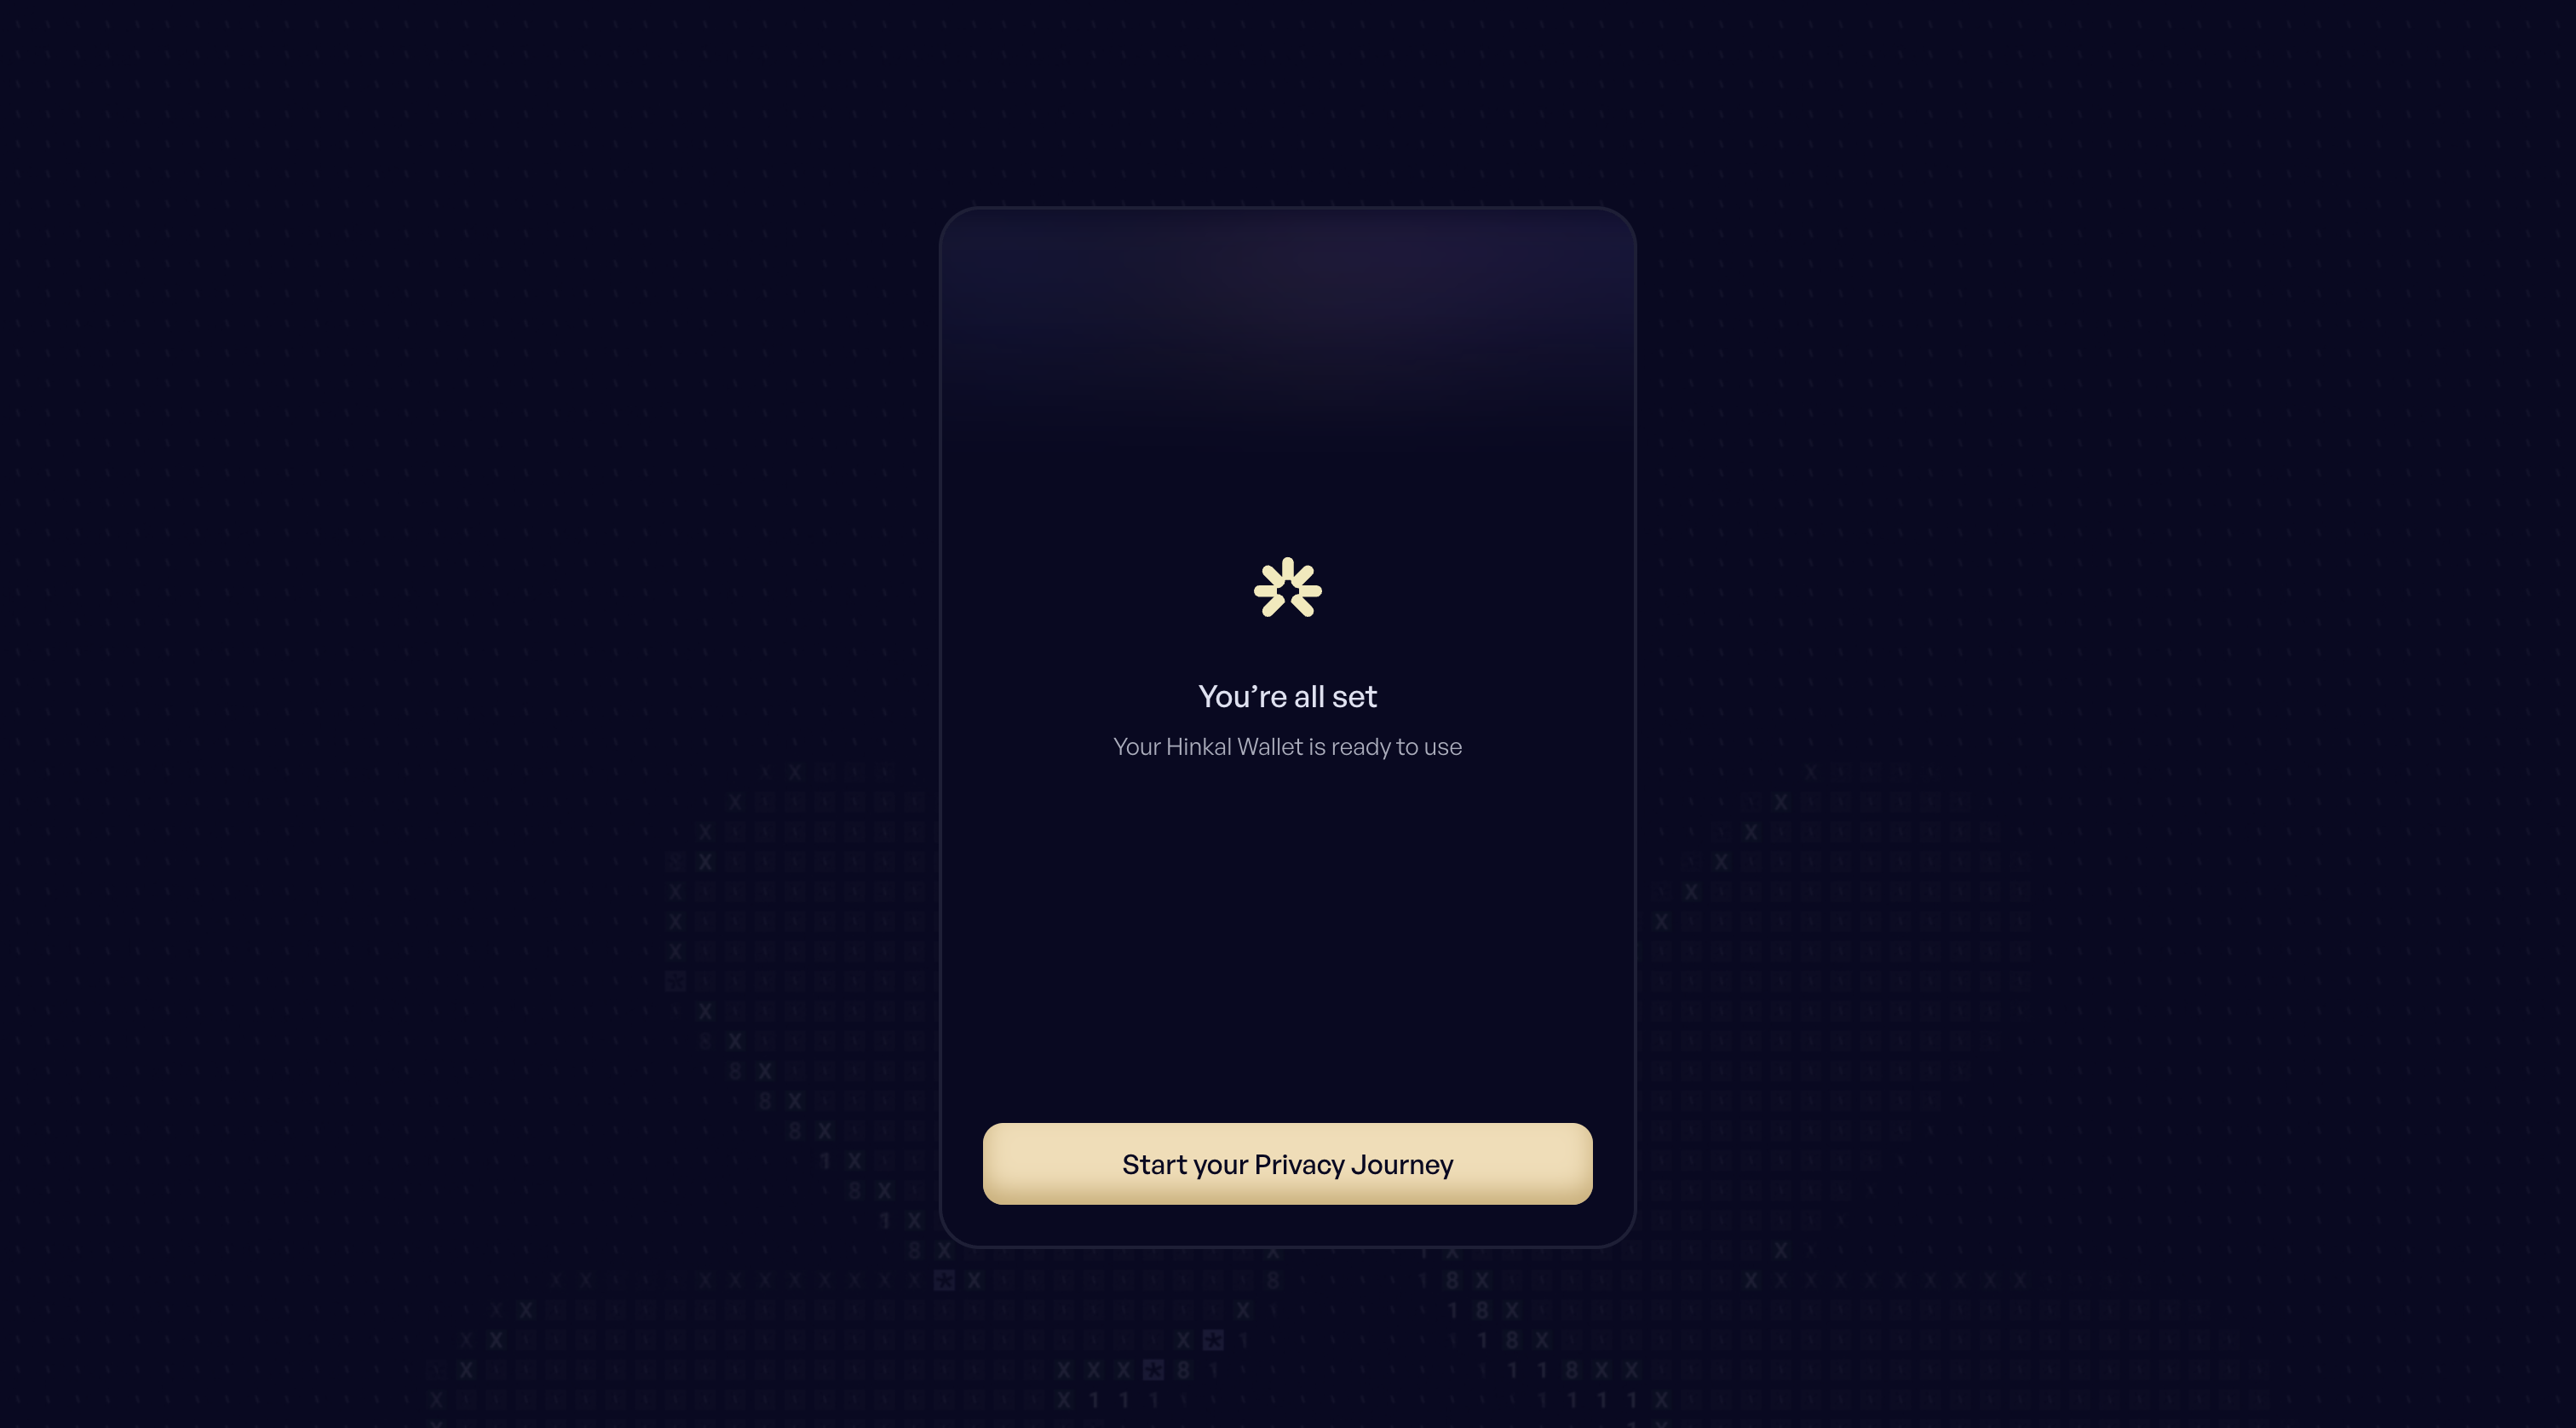
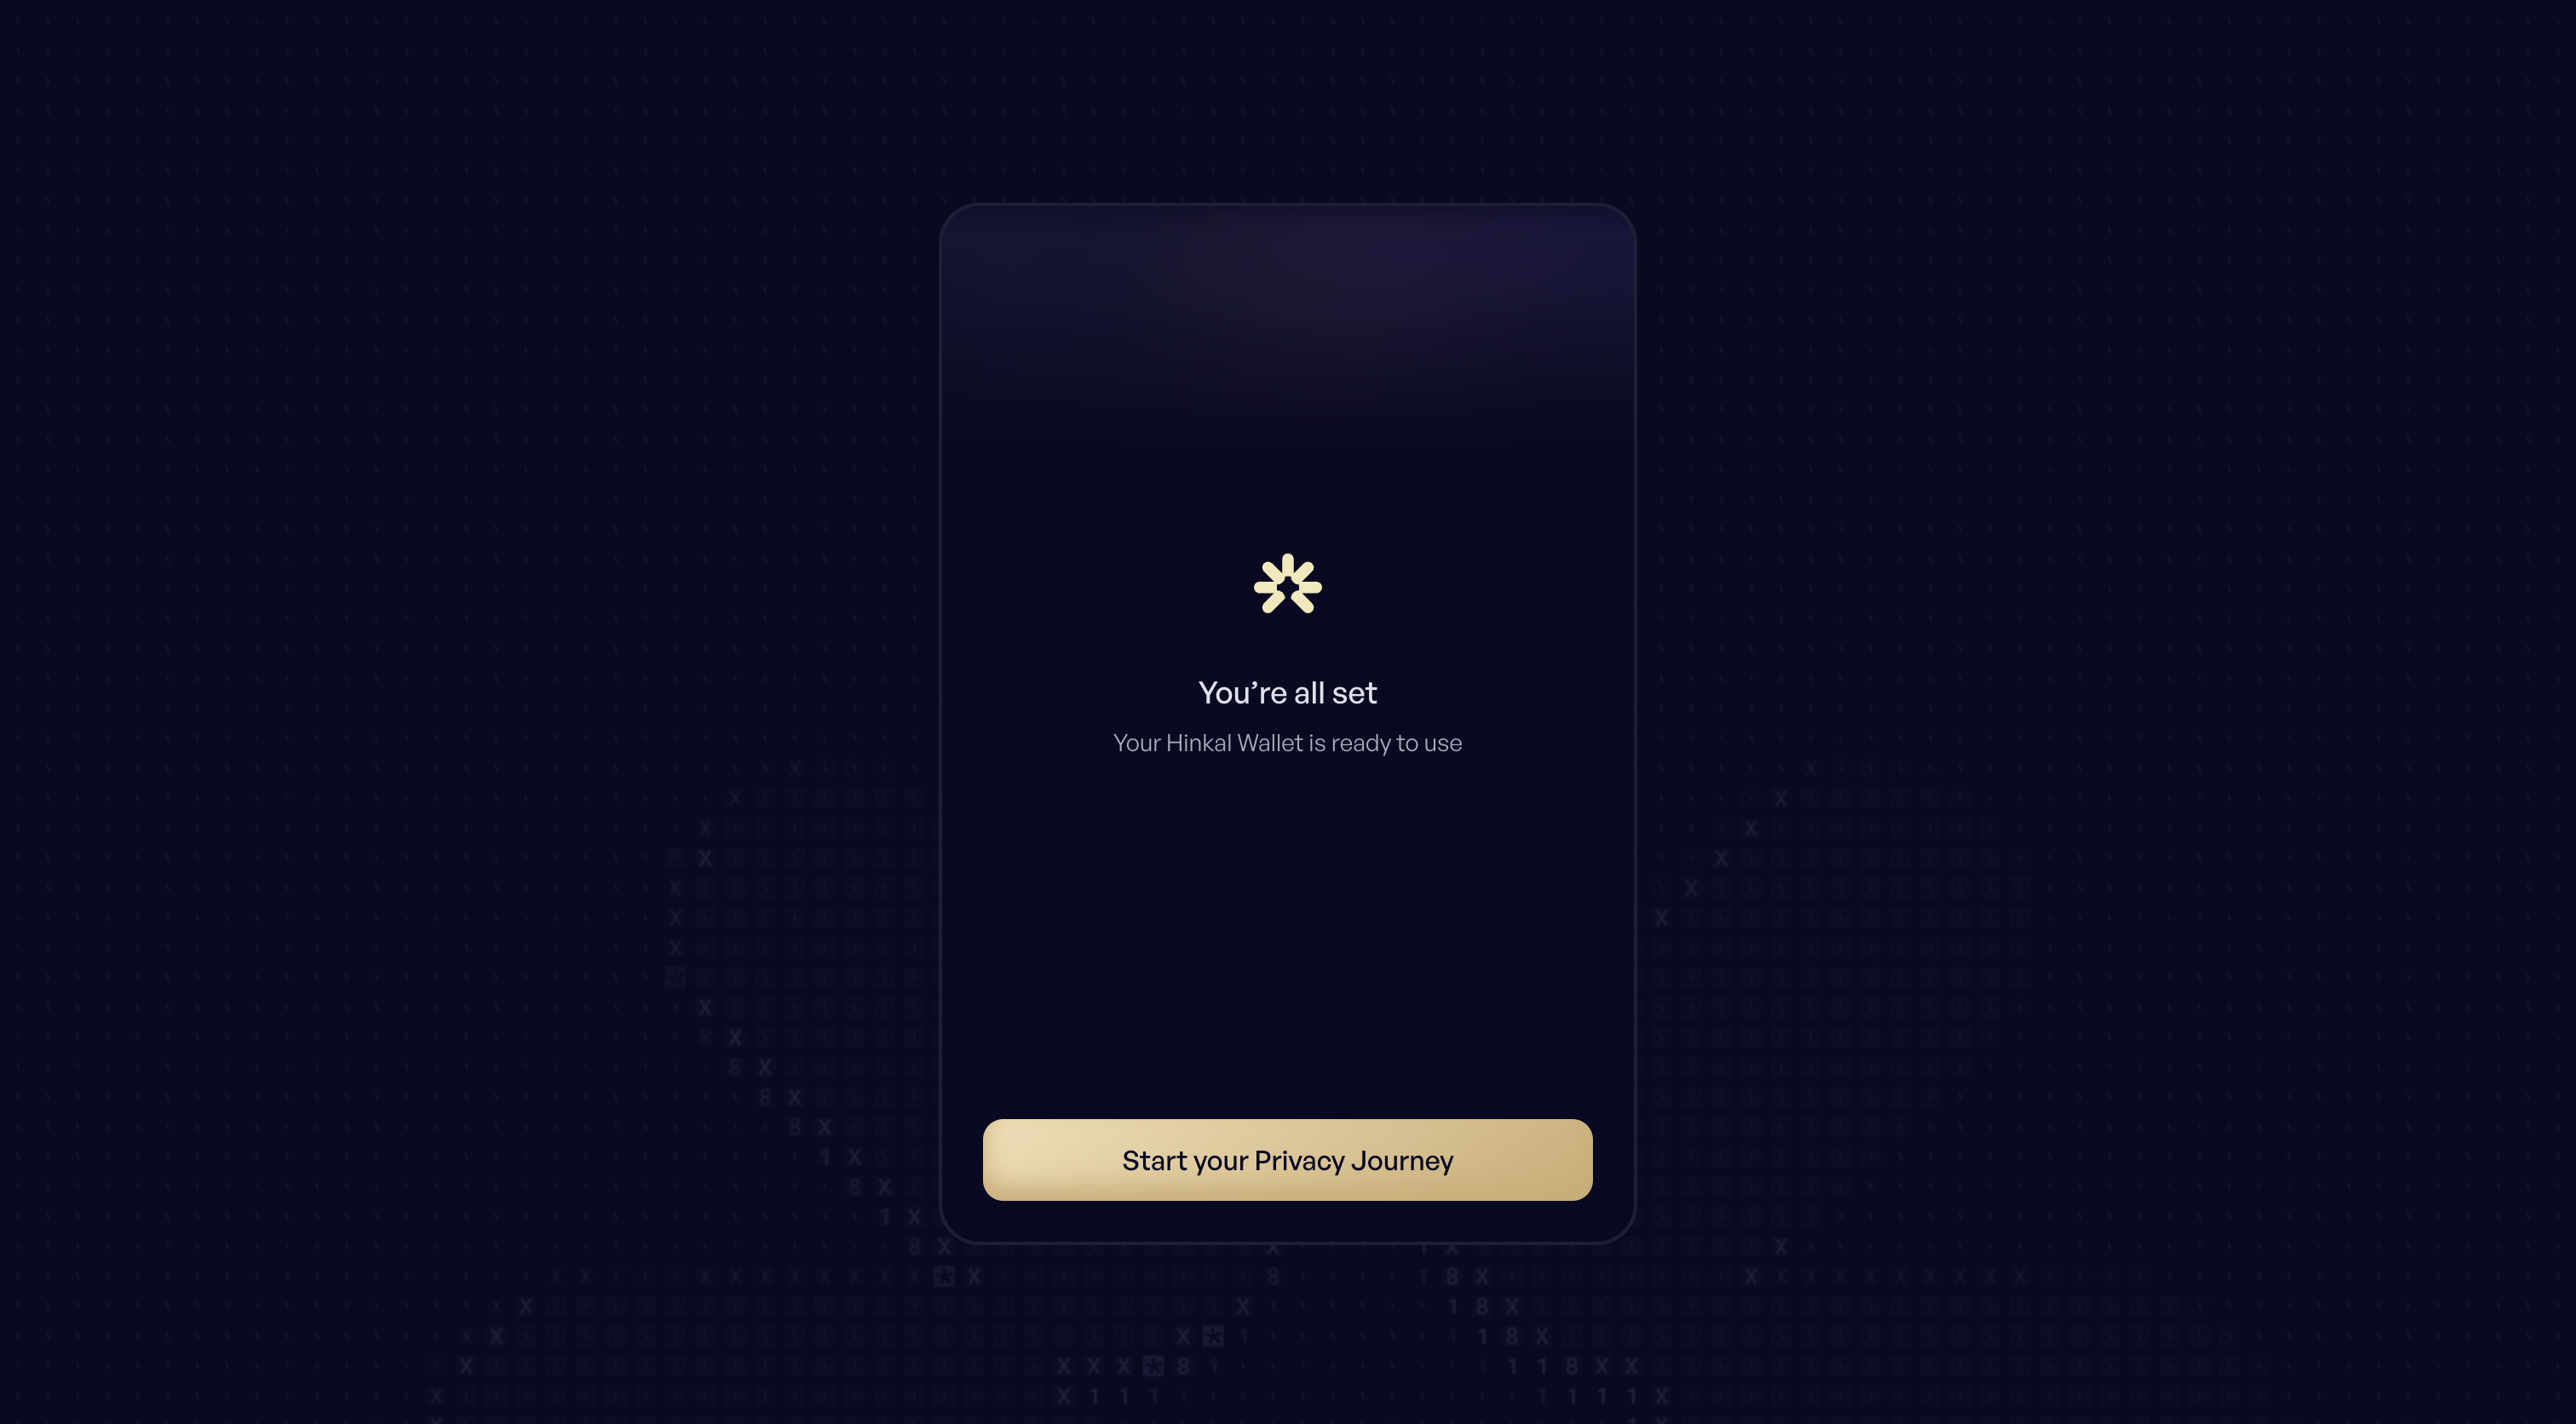
6. **Wallet ready**
Click ***Start your Privacy Journey*** to continue.
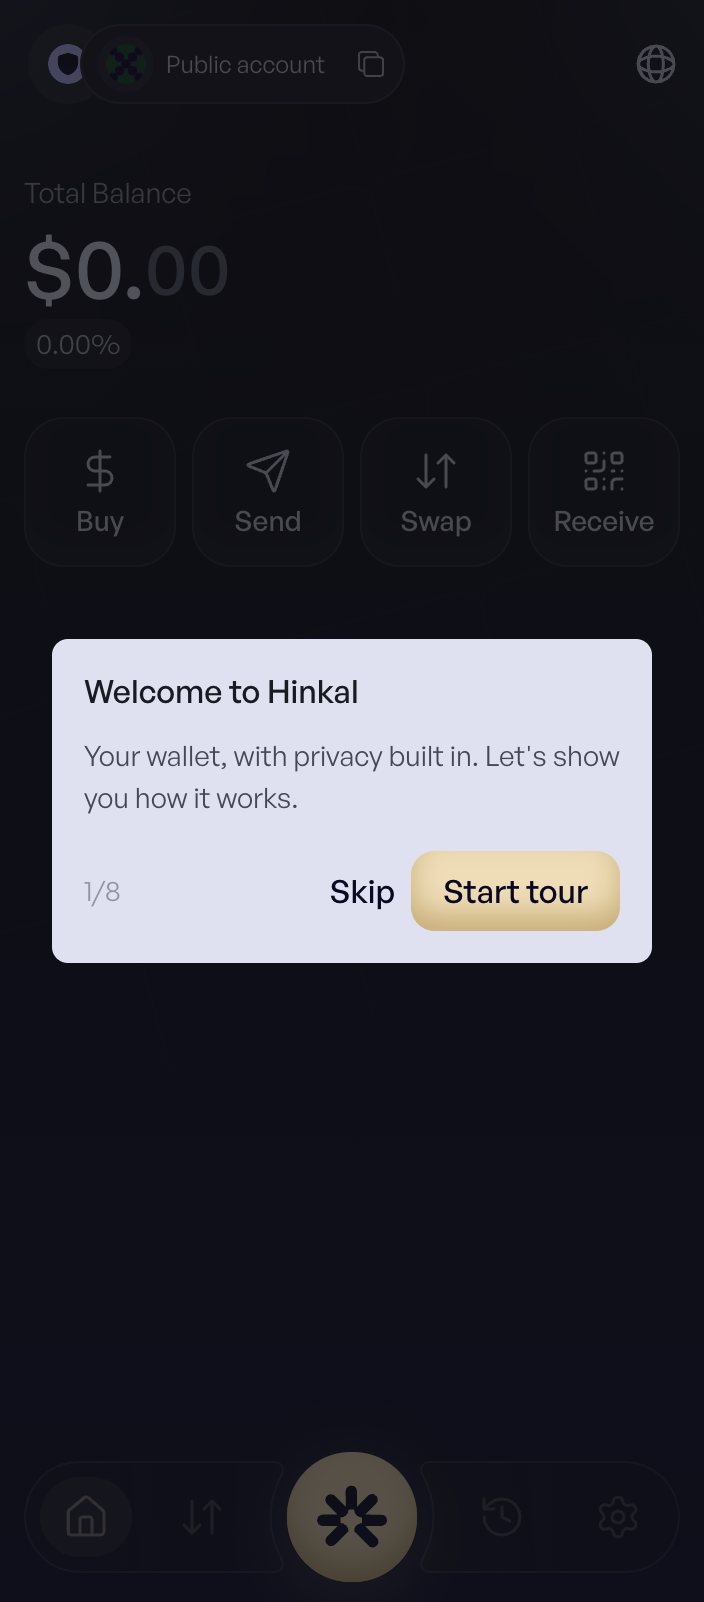
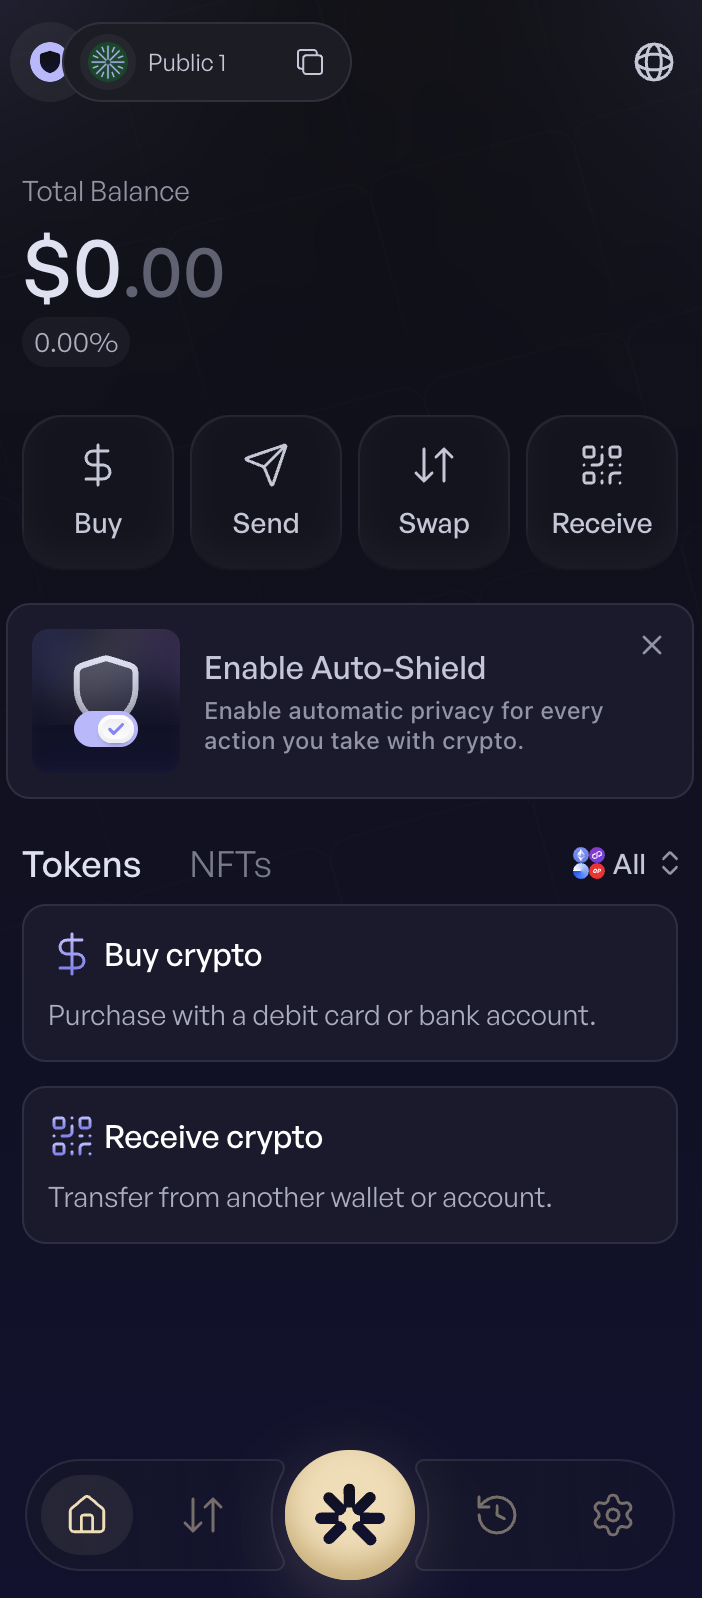
7. **Unlock your wallet**
You're now set up and **ready** to use Hinkal.
***
#### Import a Wallet
Use this option if you already have a wallet with a recovery phrase. (Welcome screen → Import a wallet)
1. **Set your password**
Create a local password for this device.
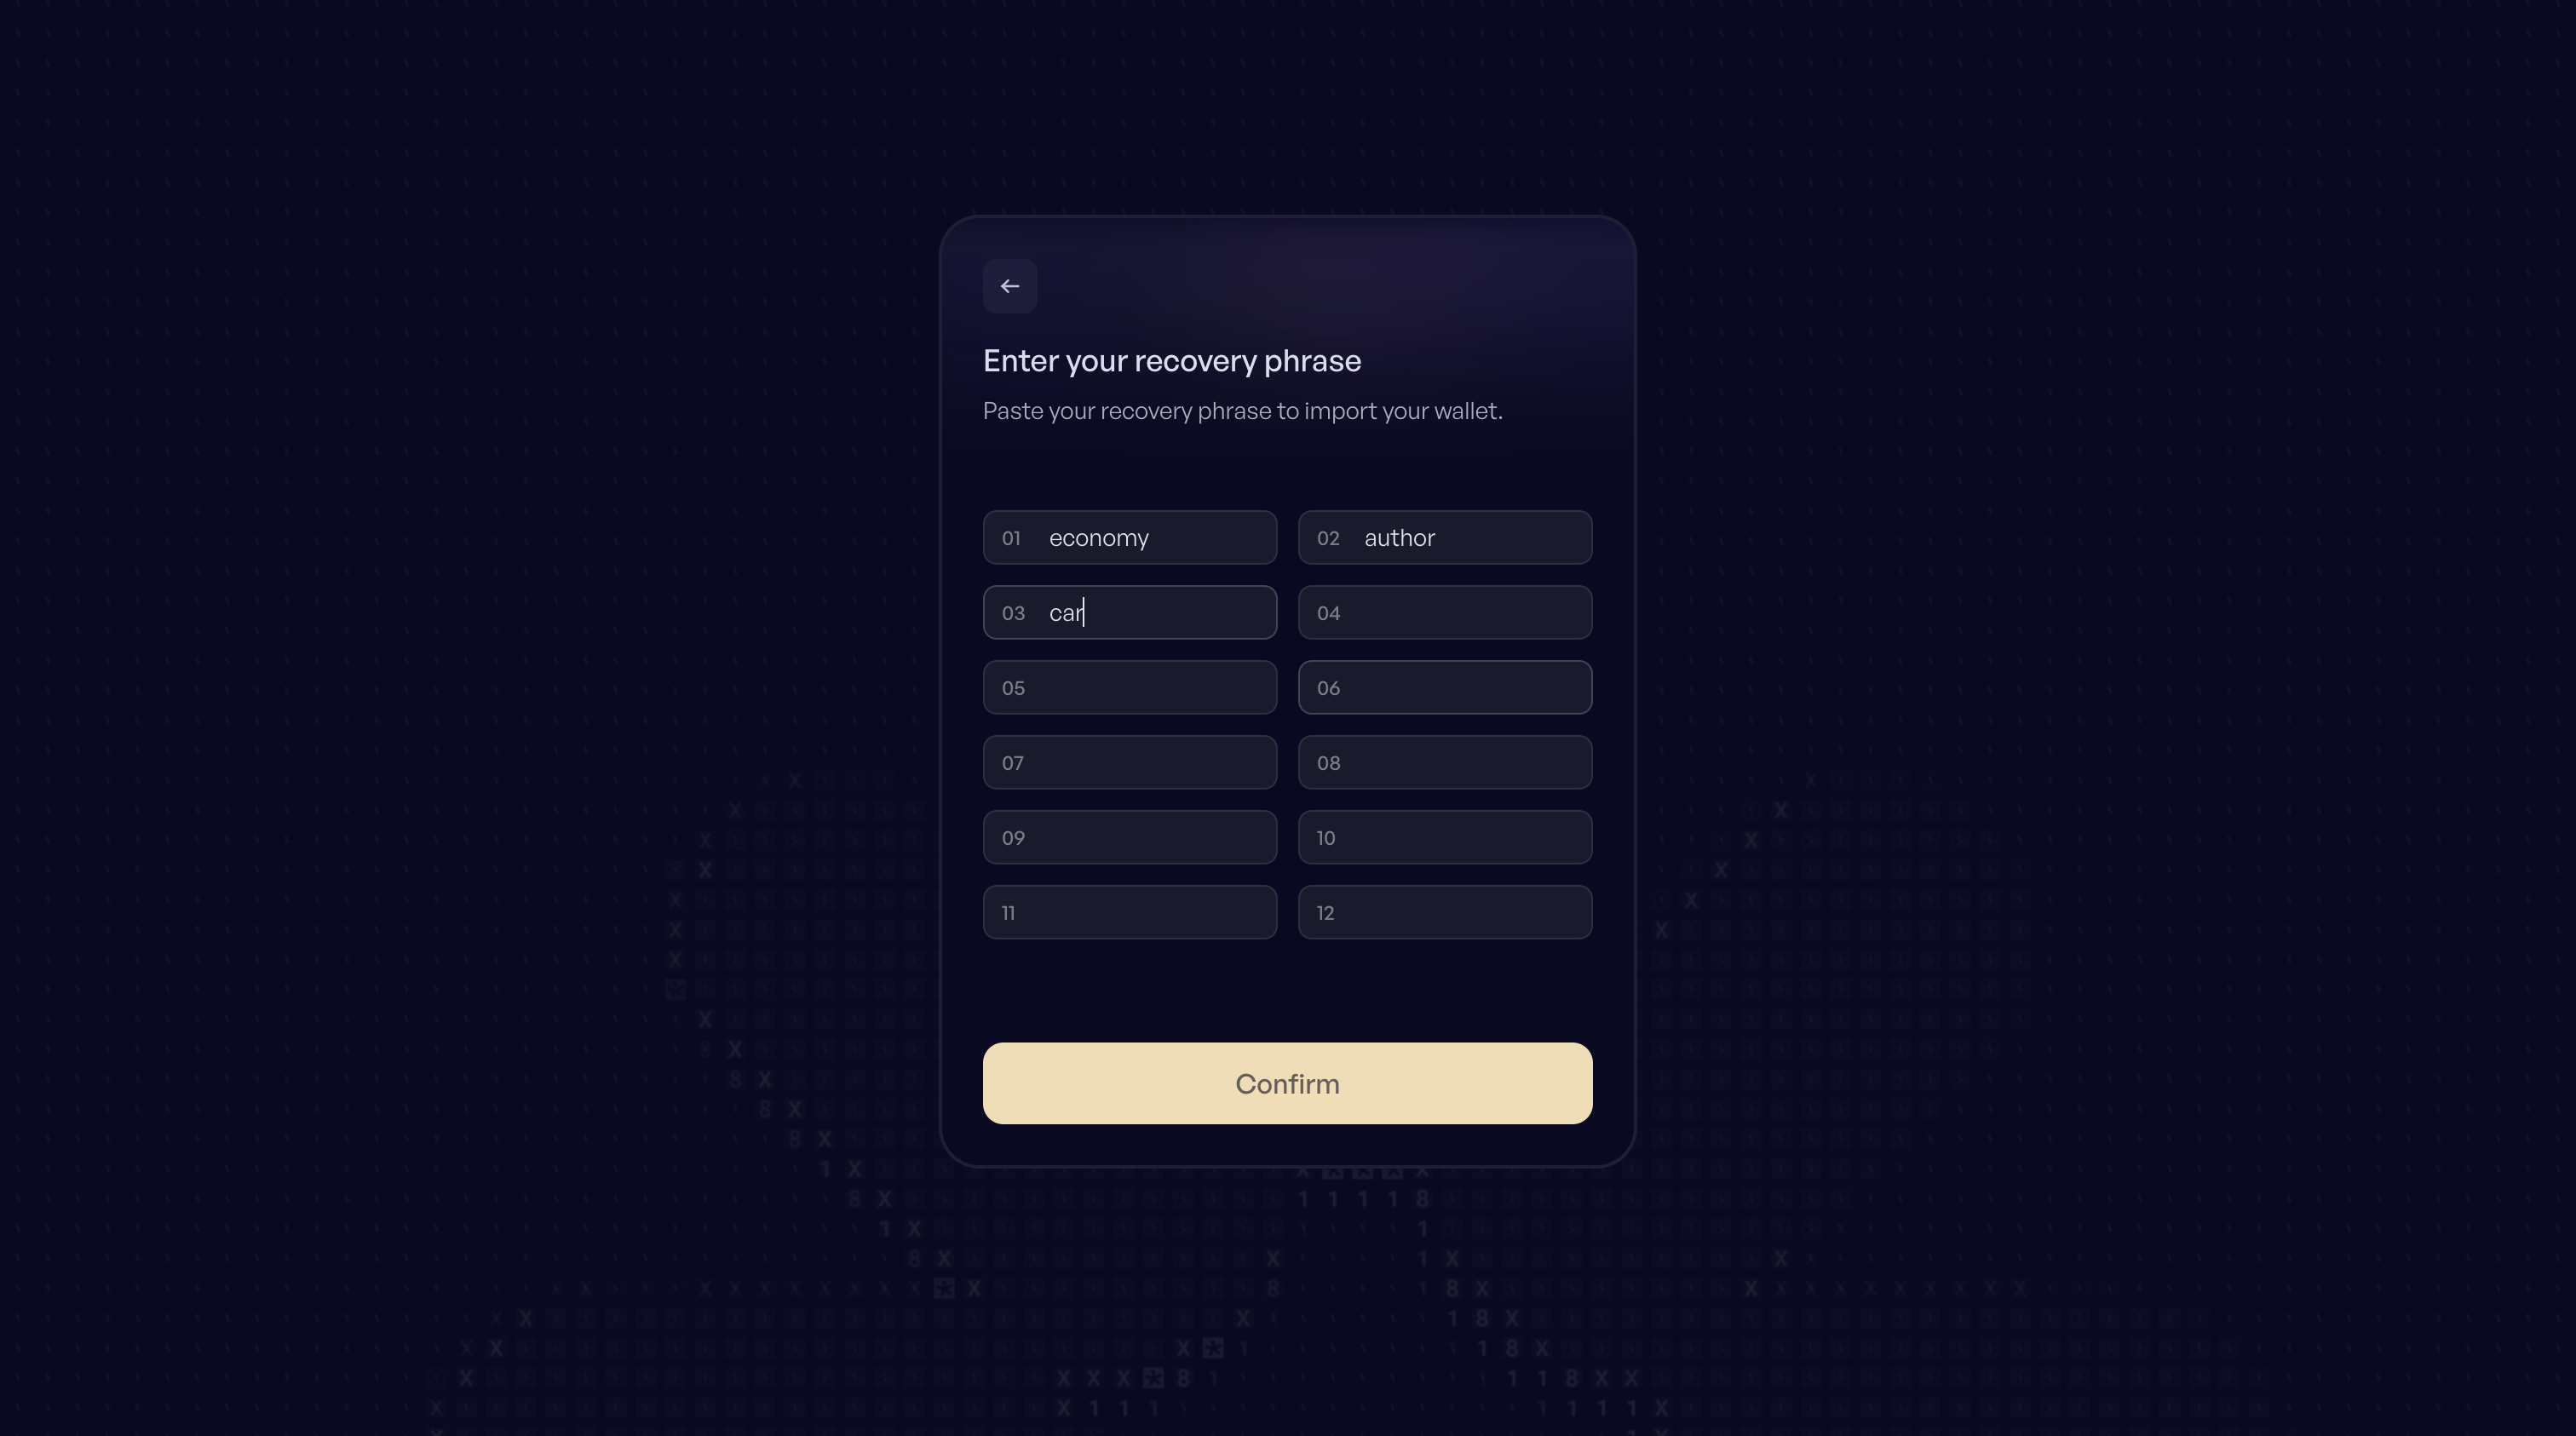
2. **Enter your existing recovery phrase**
Input the 12-word recovery phrase from your existing wallet. This restores your wallet and all associated accounts.
3. **Wallet ready**
Click ***Start your Privacy Journey*** to continue.
4. **Access your wallet**
You're now set up and **ready** to use Hinkal.
***
#### Continue with Google
(Welcome screen → Continue with Google)
1. **Sign in with Google**
Choose the Google account you want to use.
2. **Set your password**
Create a local password for this device.
3. **Wallet ready**
Click ***Start your Privacy Journey*** to continue.
4. **Access your wallet**
You're now set up and **ready** to use Hinkal.
\[step image tabs]
***
#### Migrating from the legacy version
Hinkal has retired its old contracts. Accounts created in the legacy version - whether you connected an external wallet, imported an account, or signed in with Google - are no longer supported and cannot be used for new onboarding.
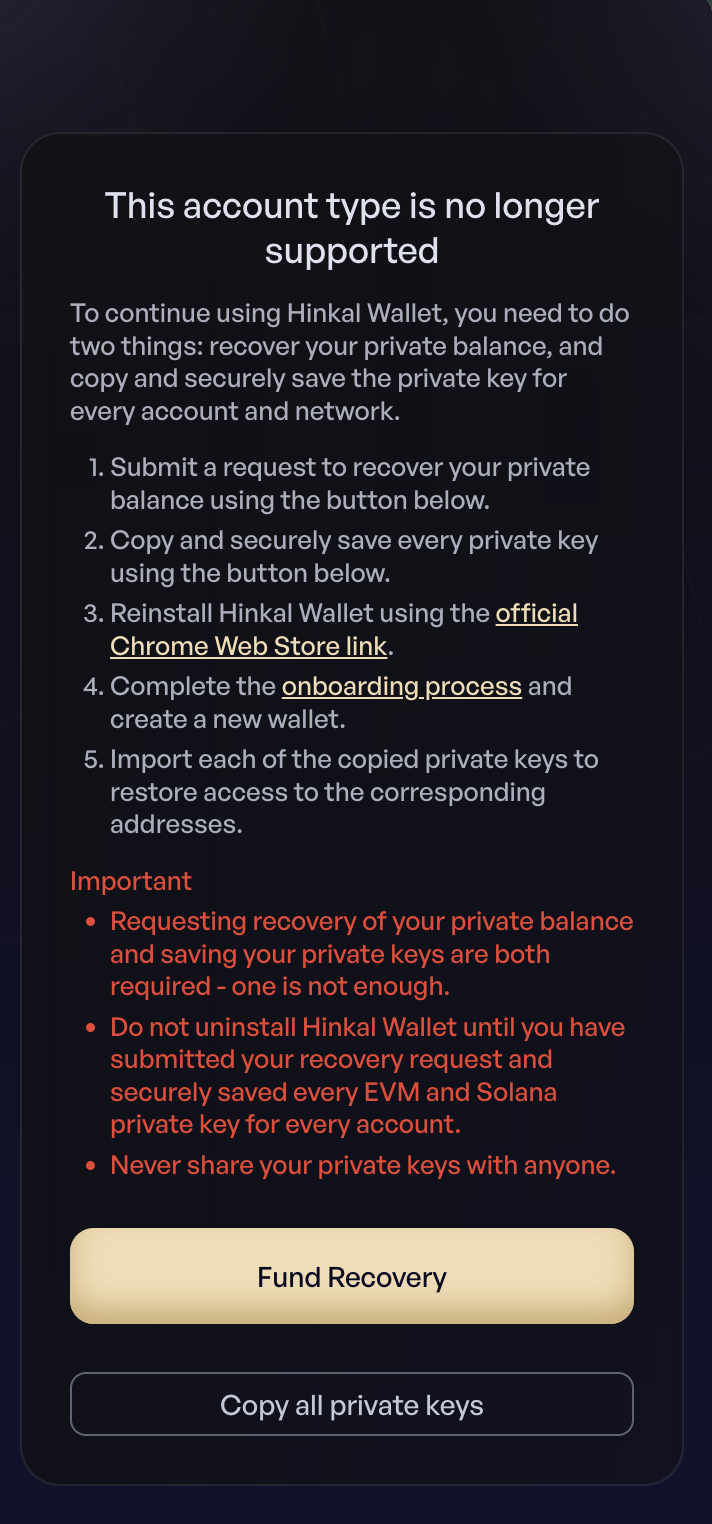
If you had a Hinkal wallet before the update, you need to recover it once, then move to the **new** version. Opening the legacy wallet shows a screen titled ***This account type is no longer supported*** with the steps below.
#### **What you need to do**
Things that are required:
1. On the onboarding page, lick ***Back to Legacy version.*** Onboard the same way you did previously before the update.
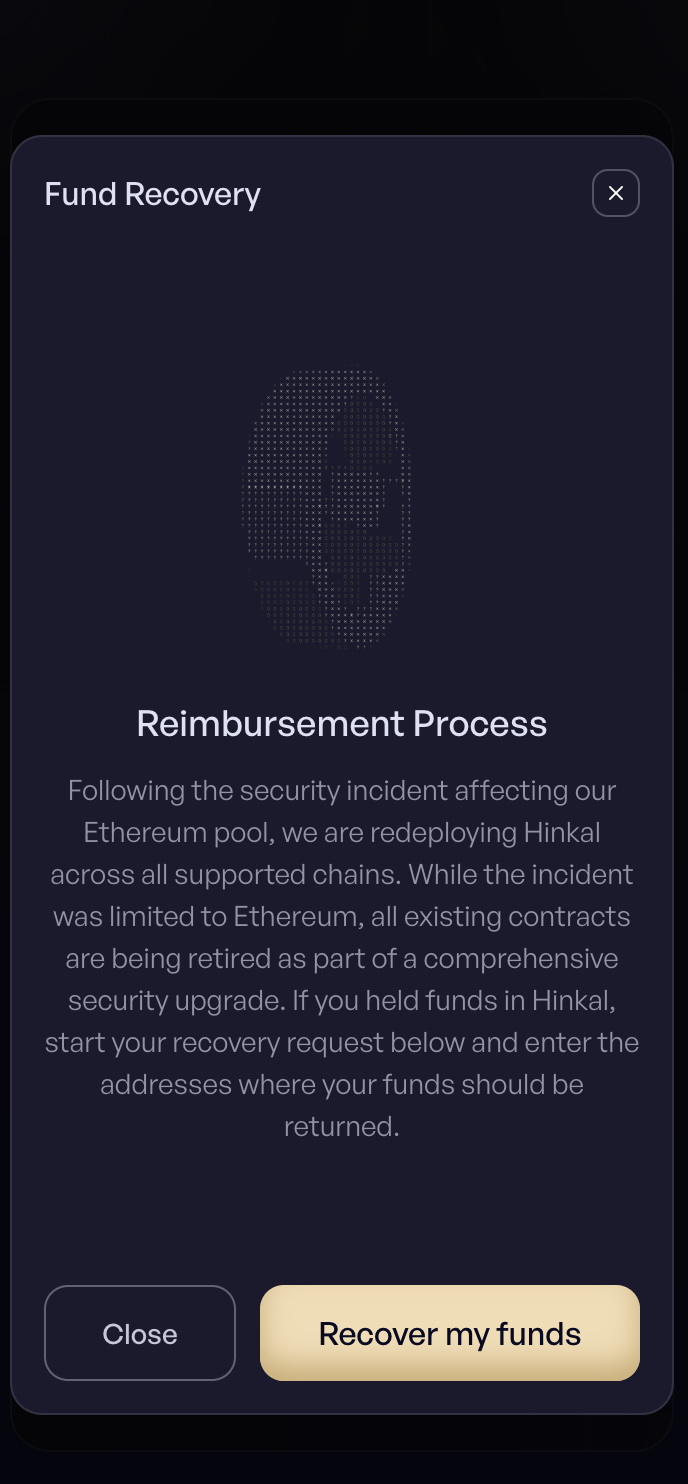
2. **Request recovery of your private balance**
After you onboard, the wallet displays a page with information. Click ***Fund Recovery*** and submit the request. Recovery is not instant - the request is processed by Hinkal and your private balance is returned once it completes.
3. **Copy and securely save every private key**
Click ***Copy all private keys***. This covers every account and every network (EVM and Solana).
3. **Reinstall Hinkal Wallet** from the official Chrome Web Store link.
4. **Complete onboarding** in the new version and create a new wallet (see [Create a New Wallet](#create-a-new-wallet) above).
5. **Import each saved private key** to restore access to the corresponding addresses.
#### **Important**
* Do not uninstall Hinkal Wallet until you have submitted your recovery request ***and*** saved every EVM and Solana private key for every account.
* Never share your private keys with anyone.
#### **Still on the legacy welcome screen?**
The legacy version remains available **only for recovery.** On the new welcome screen, click ***Back to Legacy version***, then ***Get Started*** to reach your old wallet. Once you've completed the steps above, you won't need it again.
***
### Which path should I choose?
| Path | For |
| -------------------- | ------------------------------------------------------------------------------- |
| Create a wallet | New users. Full self-custody with a new recovery phrase. |
| Import a wallet | Restoring a wallet from an existing recovery phrase. |
| Continue with Google | New users who prefer a Google sign-in. |
| Legacy version | Only for recovering a wallet created before the update. Not for new onboarding. |
#### Important notes
* Hinkal is fully self-custodial
* Your recovery phrase is the only backup
* Hinkal cannot recover your wallet if you lose it